Social login configuration
All functions of Social Login extension are combined on a single dashboard, located at Stores -> Configuration -> Mirasvit extensions -> Social Login.
The page consists these sections:
General
Use this section to configure display mode and position.
- Enabled:
- Yes: activates the module and displays social login options on selected pages.
- No: disables the module and hides all social login buttons from the frontend.
- Display mode: determines how social login providers are shown to customers.
- Buttons: shows full-width buttons with provider names, such as Sign in with Google.
- Icons: displays only small social network icons for a cleaner, minimal design.
- Show On: defines where the social login options will appear on the storefront.
- Customer Login Page (before form): shows social login options above the default Magento login form.
- Customer Login Page (after form): displays them below the login form.
- Customer Create Page (before form): adds social login options above the registration form.
- Customer Create Page (after form): adds them below the registration form.
- Customer Login Popup: displays login options inside the AJAX popup (if supported by the theme).
- Enable Redirect after login: controls whether the customer is redirected after successful authentication.
- Yes: redirects users to the previously visited or a predefined page after login.
- No: keeps users on the same page after logging in via a social network.
- Redirect URL: the URL customers are sent to after a successful social login. Only shown when Enable Redirect after login is set to Yes. Leave empty to fall back to Magento's default post-login behavior (the previously visited page).
GraphQL
Use this section to enable social login on a headless or PWA storefront. These settings are only needed if your storefront signs customers in through the GraphQL API — leave them empty for a standard Luma or Hyvä storefront. See GraphQL / Headless login for the query, mutation, and integration flow.
- Headless callback URL: the headless/PWA storefront URL that the social-login callback redirects to, carrying the one-time login code as
?mst_social_nonce=.... Only this whitelisted URL is ever used as the redirect target, so there is no open-redirect risk. Leave it empty if you do not use the GraphQL/headless login. - Nonce lifetime (seconds): how long a one-time login code stays valid before the storefront must exchange it for a customer token. Default is
120. Values are clamped server-side to the60–600second range, so an out-of-range value is corrected automatically.
Social Accounts
There is a list of diversity of supported services and Internal statistics for each of the active services. If Social account service enabled there will be an identifier with a number of logged Users through the particular service.
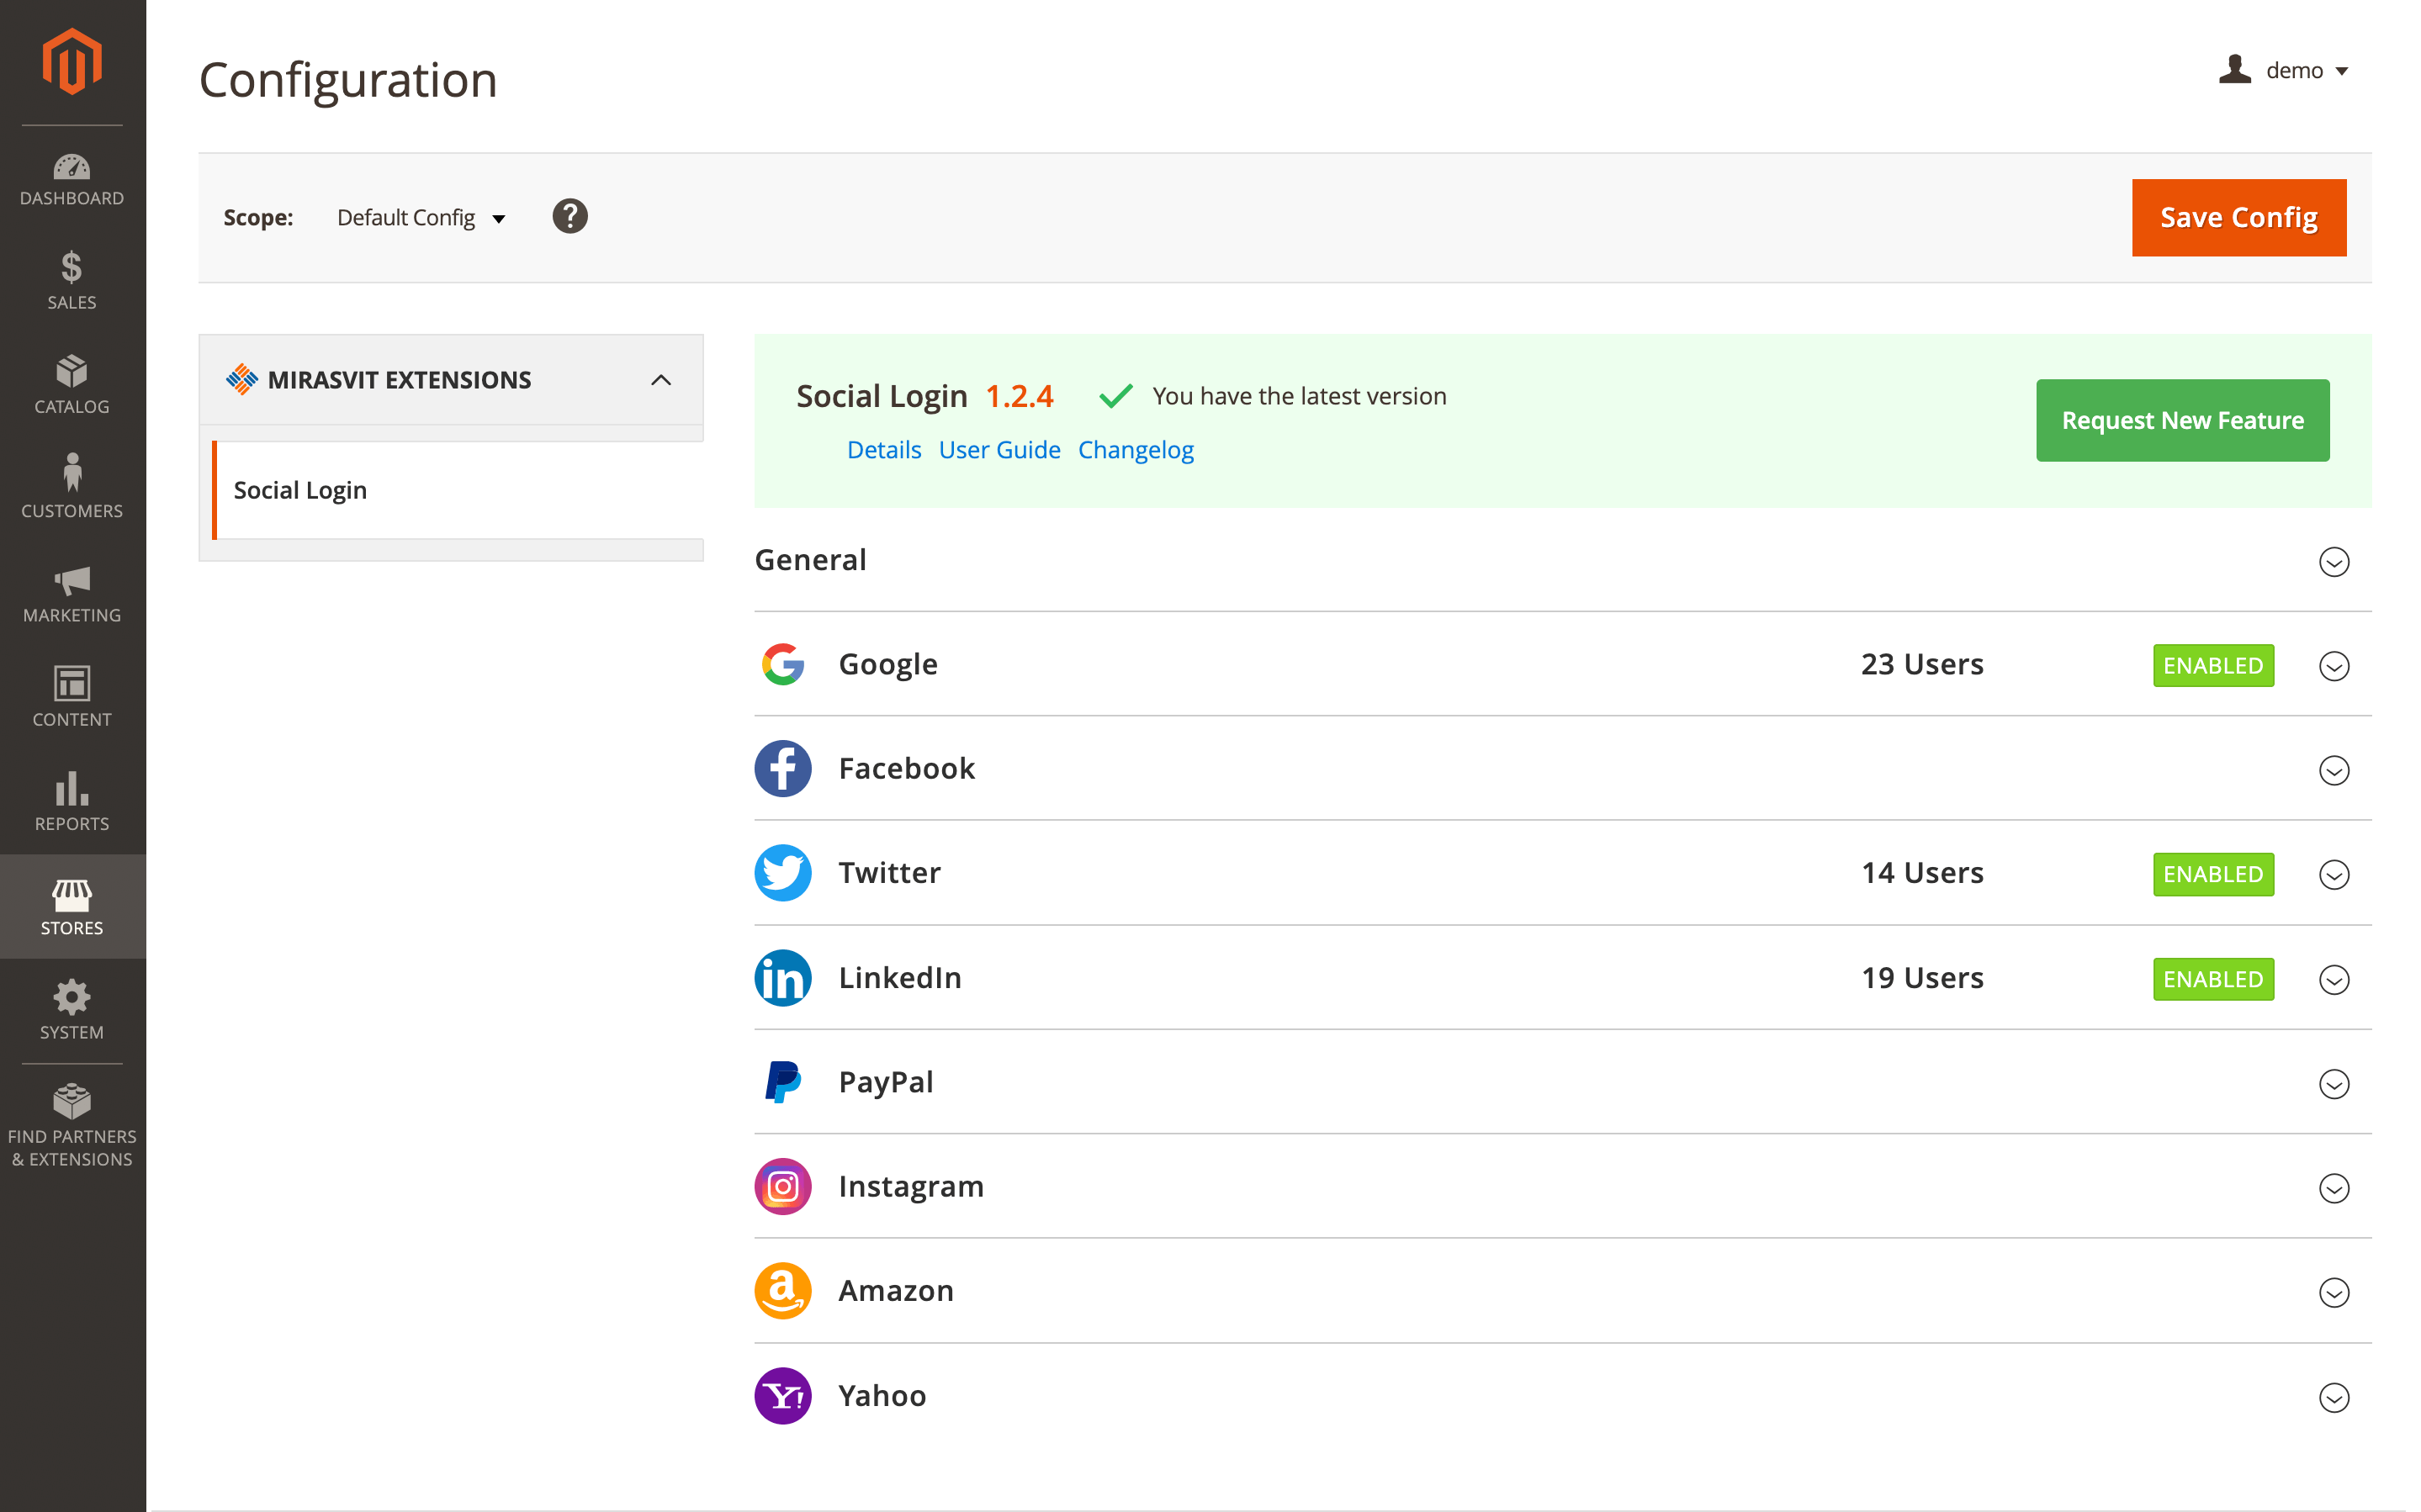
Each Social Service requires to fulfill special data:
- Enabled:
- Yes: enable social account
- No: disable social account
- Consumer Key (API Key): an encrypted string that can be used when calling certain APIs, can be found in your project of each social service.
- Consumer Secret (API Secret): a client secret credentials, will be generated automatically with Consumer Key (API Key).
- Redirect URI: for use with requests from a web server. This is a path from your application that users are redirected to after they have authenticated. The path will be appended with the authorization code for access. Must have a protocol. Cannot contain URL fragments or relative paths. Cannot be a public IP address.
- Position: Predefines a display order privilege for each Social Login service on the login page.
Available social platforms:
Google
To fulfill all necessary data, create a Google App Project, more details in developers documentations.
Facebook
To fulfill all necessary data, create a Facebook App Project and choose Web, more details in developers documentations.
Twitter
To fulfill all necessary data, create a Twitter App Project, more details in developers documentations.
LinkedIn
To fulfill all necessary data, check developers documentations.
PayPal
To fulfill all necessary data, check developers documentations.
Instagram
To fulfill all necessary data, register a New Client at Manage Clients tab
Amazon
To fulfill all necessary data, create an Amazon App Project.
Yahoo
To fulfill all necessary data, create a Yahoo App Project.