Dashboard interface
The Advanced Reports extension provides you with the ability to create custom dashboards to display almost any metrics from your store.
Create multiple dashboards with different widgets to quickly analyze your store activity like sales, customer activities, marketing efficiency, etc.
Create as many boards as you want and add as many widgets as you'd like to each board.
Interface
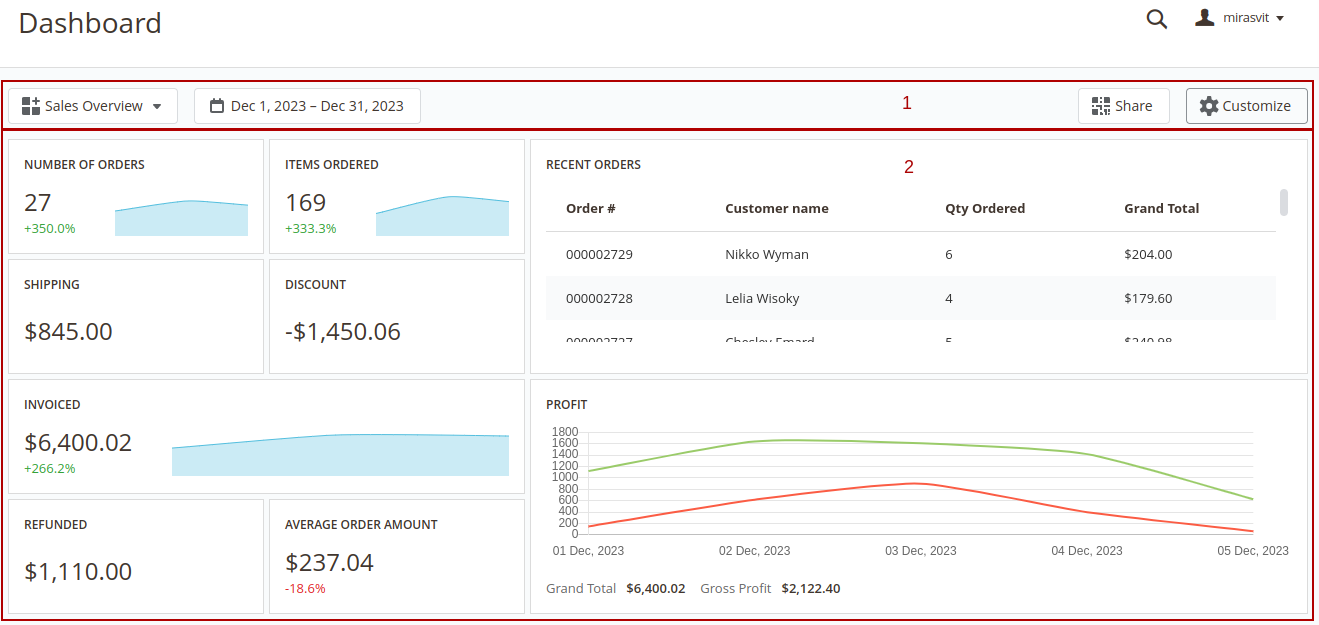
The interface of each dashboard contains 2 main sections:
-
Toolbar - the section where all control elements are placed. In the view mode the extension has the following control elements:
- Menu: navigation between boards
- Date Filter: select the date range that will be used for filtering data in the dashboard.

Date filter Widgets can have their own date ranges. In this case, the Date Filter will not affect such widgets. More information about custom date ranges for widgets can be found here.
- Share: enable/disable quick access to the current board.
- Customize: switch board mode between View and Configure modes.
-
Dashboard - the board where all widgets are displayed
Configure mode
Dashboards can be private (only the user that created the board will be able to see it) or public (all admin users will be able to access them).
To edit the current board or create a new one press the Customize button in the toolbar. The board will be switched to the Configure mode.
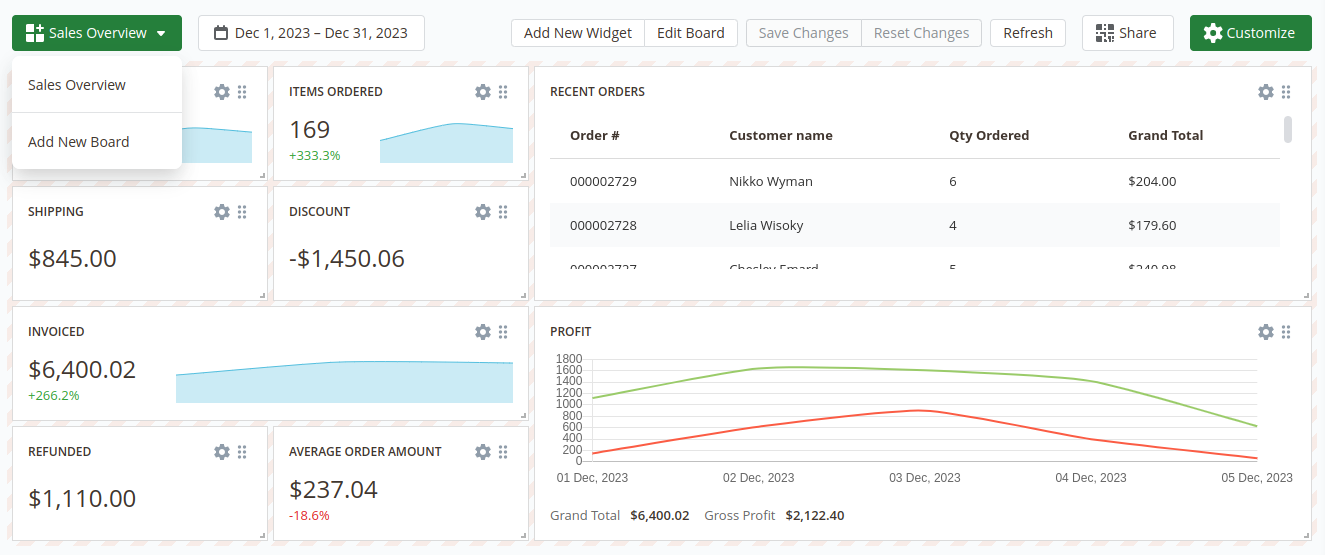
After switching the board to the Configure mode the additional control elements in the Toolbar will appear:
- Add New Widget: add widget to the current board
- Edit Board: change the general settings of the board
- Save Changes: save the dashboard after configuring it
- Reset Changes: reset the board to the previously saved version
- Refresh: refresh the data in the board
Also in the Configure mode each widget can be adjusted. More information about adjusting widgets is described in the Widgets Settings section
To create a new board open the Menu in the toolbar and click on the Add New Board option. After that, the popup will appear when you can set the main board information:
- Title: the name of the current board
- Type: defines the access scope for the current board - Private or Public
- Is Default: defines whether the current board should be displayed by default or not
These settings can be changed later by clicking the Edit Board button in the Toolbar. After creating the board you can proceed with adding widgets to that board.
You can also enable the quick access to dashboards so you can access them without logging into the admin panel of your store.