How to configure finder
This page describes how to create and configure product finder.
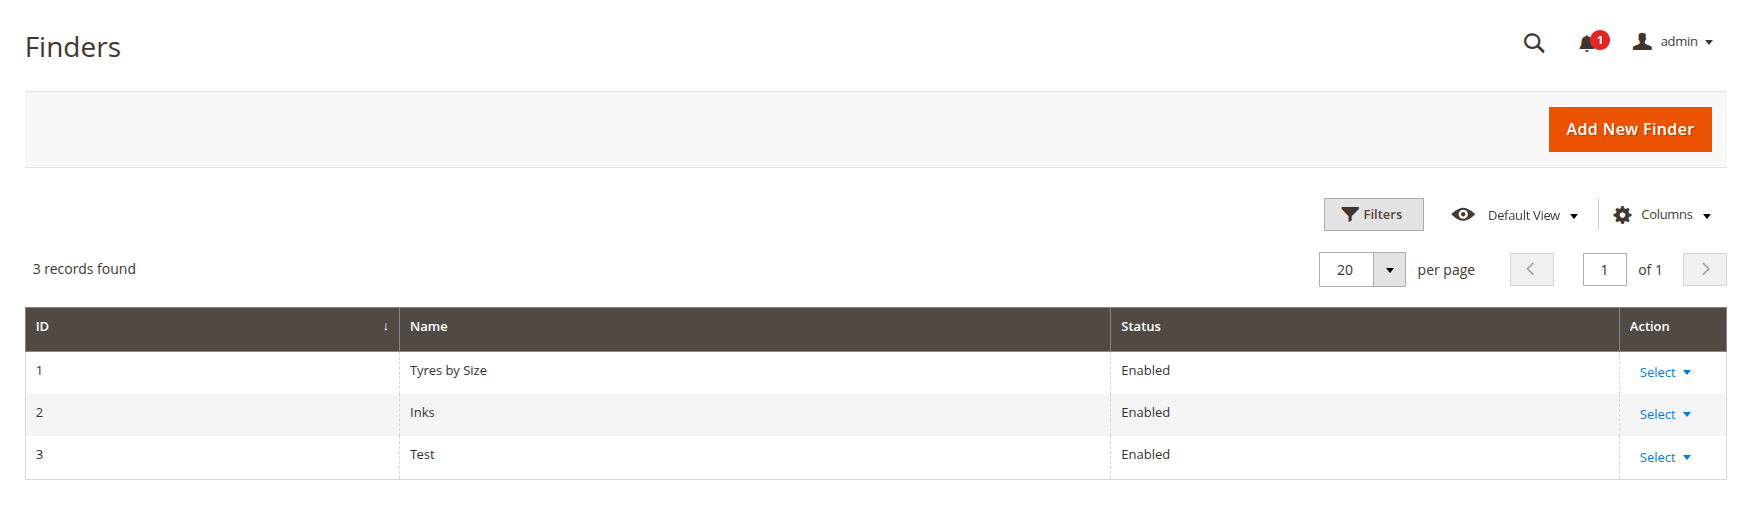
To create a product finder navigate to Catalog -> Product Finder and click Add New Finder button.
Specify general information
Make finder active with the Enable finder toggle, and define its Name. If you would like to place the finder on a page without any products, make sure to redirect the filtered results to a page with a product list in the Destination URL field. Additionally, define the Code if you plan to embed this finder into CMS pages or widgets.
Adjust appearance of the finder
Define how customers will see your finder by selecting the appropriate Template and by adding (optionally) details to the Block title and Block description.
If necessary, add conditions
If you want to limit the number of products shown when the finder is applied, specify conditions in this section. Please note that conditions can be applied only to the filters linked to attribute.
Add filters
To make your finder work, add at least one filter by clicking Add Filter button in the Filters section. Then, define obligatory fields such as Filter name, Display mode (how filter options appear) and Sort mode (filter options order).
You can use both filtering options in a single finder. Their priority will not change.
If you want to filter already existing products, select Attribute option in Link to configuration and choose the attribute. Note that the products you would like to filter must have this attribute.
If you want to filter imported products, use Import option in Link to configuration.
If you are linking the filter to an imported CSV, its name is also used as a column name.
Additionally, you can make current filter Required and allow users to select multiple options with the Multiselect option.
Continue adding as many filters as required with the Add Filter button.
Import products
Make sure you have added all the necessary filters and saved (by clicking the Save button at the top-right corner) the finder before downloading a sample file or uploading your own CSV; otherwise, the files will contain incorrect data. Import a list of relevant products and variables in this section by clicking Import Products button. Click Upload button, then select your CSV file with the products and, choose the import mode (unnesessary if it is a new finder) and click Start Import button. The order and number of columns in the CSV file is determined by the filters, top to bottom.
You can download a sample CSV file and use it as a template.
The first column must contain SKU, the others must contain the values for each filter.
The column order in the file must match the grid's filter order in the Filters section.
Imported products will be shown in the table in the Import section.
Save the finder and apply it
Click the Save button at the top-right corner and when the finder is saved, open edit menu again and click the Reindex button close to the Save button to apply all changes. Alternatively, you can reindex the finder with the command described on the command line interface page.
Add the finder to the necessary page
Click the Save button at the top-right corner and navigate to the Display section. This section stores the finder block's, Layout Update XML, Widget and Template .phtml code snippets. Copy one of them and place it on any page in order for the finder to be displayed there. It is sufficient for the finder to work properly if the page has a list of the products you need filtered.
You can add several finders to a single page.
Any of the three options can work, but they are intended for different editing purposes. They also vary in complexity and flexibility:
Widgets are generally the easiest to use: you can copy and paste the snippet directly to the editor.
Layout updates offer more control but they require a knowledge of XML and a direct access to the server.
Templates are the most flexible but they require the knowledge of HTML and PHP.
Saved finder will be added to the list with all finders, where it can be accessed and edited.