Statuses
Statuses play a critical role in defining the various stages of a ticket's lifecycle. In Help Desk MX, statuses not only organize tickets but also ensure that your team stays on top of customer issues efficiently, providing a smoother support experience. By clearly identifying ticket stages, your staff can prioritize and manage their workflows more effectively, ultimately leading to faster resolutions and higher customer satisfaction.
Our extension includes three default statuses out of the box:
- Open: automatically assigned when a ticket is created or when the initial response is received from the customer.
- In progress: assigned once the support team has responded or is actively working on resolving the issue.
- Closed: applied when the ticket is marked as resolved, signaling that no further action is needed.
You can create custom statuses to fit your specific business workflows, allowing for tailored tracking and team-specific handling of customer inquiries. These statuses offer additional flexibility, enabling you to adapt Help Desk MX to your support process, whether you need to classify tickets based on urgency, departments, or any other criteria.
General Information
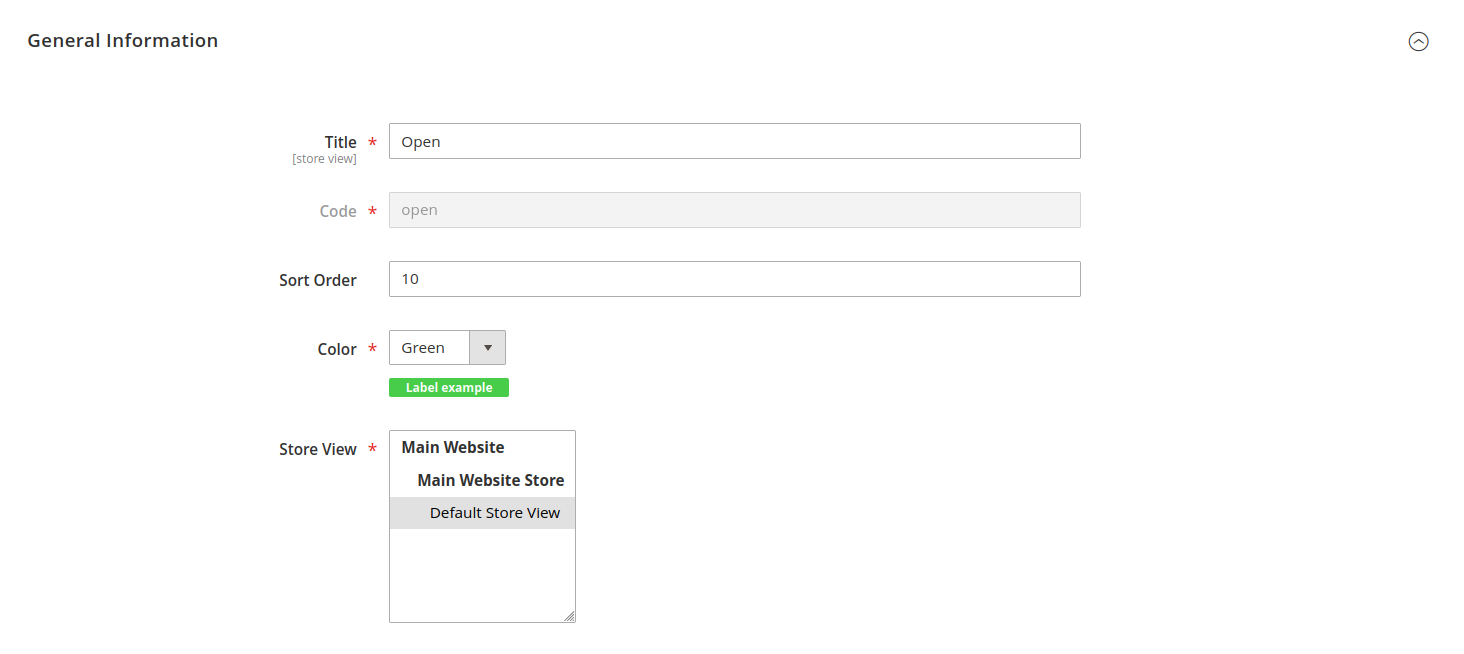
Each status has specific properties that define how it functions and how it appears in your ticket management system:
- Title: the visible label for the status, used in drop-downs and ticket grids.
- Code: a unique identifier for the status, consisting of only letters, digits, and underscores.
- Sort order: determines the order in which statuses appear in drop-down menus, helping to prioritize common or critical statuses for faster selection.
- Color: assign a color to the status label to enhance visual identification in the ticket grid.
- Stores: set the store view(s) where the status will be available.
Status labels cannot be translated using translation files.
If you wish to have the same status displayed differently on other stores, use the Store view switcher to jump to other store views and put a translation into the Title field.