Automation rules
Automation rules functionality allows selected prompts to be run by Cron. The list of rules are located at System -> AI Assistant -> Automation rules.
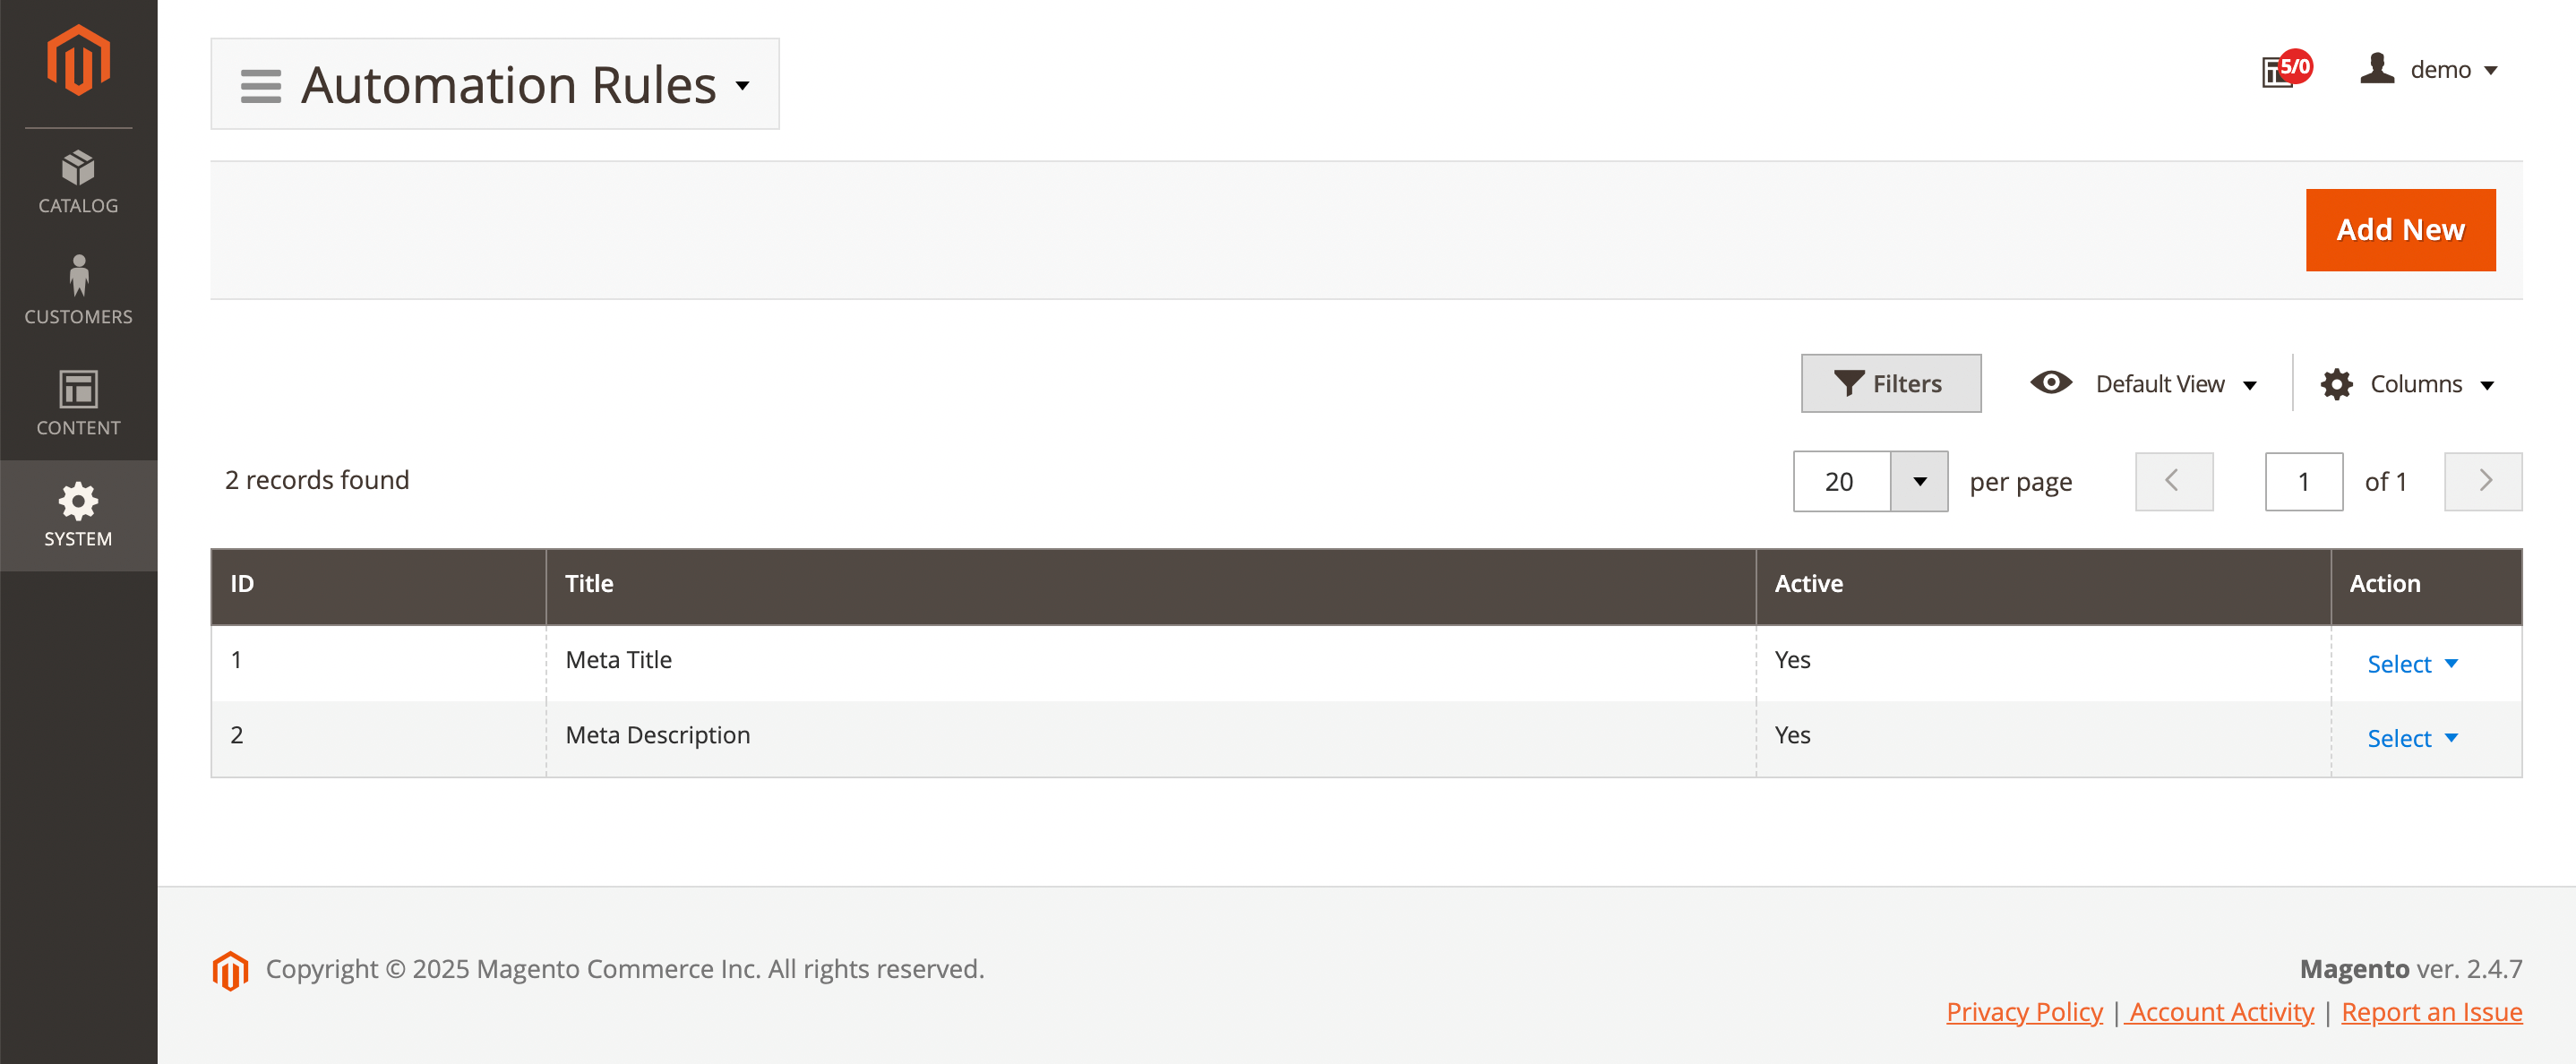
Here, you'll find the following fields:
- ID: ID of the rule.
- Title: rule name.
- Is active: prompt status.
- Action: actions on the selected prompts in the queue:
- Edit: allow see and edit trigger.
- Delete: allow delete source.
Configure automation rule
Each rule is created individually, but if you create multiple similar rules, use the Duplicate button for faster operation.
General information
Contains general information about the automation rule.
-
Title: the name of the rule that is visible in the grid of automation rules.
-
Entity type: type of entity to configure the rule for. You won't be able to change the entity type after you saved the rule. Currently, the extension allows creating rules for:
- Products
- Categories
- Blog MX posts
- Blog MX categories
-
Active: set to
Yesif the rule should be executed. -
Apply only once: set to
Yesif the rule should be executed only one time. -
Overwrite not empty field: set to
Yesif the rule should overwrite any existing text in the selected text field. A field counts as "not empty" only if the store view has its own value for it. A value the store view only inherits from the default scope counts as empty. See How "not empty" works per store view below. -
Override if match regex: define a regular expression pattern to conditionally override existing field values. The field will only be overwritten if the existing content matches this regex pattern. Leave empty to override all non-empty fields when Overwrite not empty field is enabled. Examples:
/^.{1,50}$/: content length 50 characters or less./^.{100,}$/: content length 100 characters or more./.*placeholder.*/: contains wordplaceholder./^[A-Z\s]+$/: contains only uppercase letters and spaces./^(?!.*updated).*$/i: - does not contain wordupdated(case-insensitive).
-
Store views: select the applicable scope of the rule.
-
Generate content per store: allow to generate different content for each store view. Enabling this setting will increase the number of request for generating content on the total cost of applying the rule:
- No: the rule will generate the content one time per entity and will apply it to each affected store selected in the "Store view" setting.
- Yes: the content will be generated for each store view of every entity separately. Most helpful for automatic translations.
How "not empty" works per store view
On the storefront, Magento shows the default-scope value on every store view that has no value of its own. The AI Assistant does not follow that storefront fallback. When a rule runs for a store view with Overwrite not empty field set to No, it checks only the value saved for that store view:
- The store view has its own value: the field is not empty, so the rule skips it.
- The store view only inherits the default value: the field is empty, so the rule generates content and saves it for that store view.
This is what makes these common scenarios work:
- Translating a multi-store catalog. Your French store view inherits the English default description. The rule treats it as empty, generates the French text and saves it for the French store view. The default description stays unchanged.
- Overriding defaults on some store views only. Store views that already have their own description keep it. Store views that still inherit the default get new content.
- Re-running a rule after a failure. If a run stopped part-way, or the rule's history was cleared, run it again. Store views that already received their content are skipped and only the missing ones are filled, so you don't pay for the same requests twice.
To replace store-view values that already exist, set Overwrite not empty field to Yes. Optionally add Override if match regex to limit which existing values get replaced.
Configuration
Contains the selection of prompt, field, and conditions for applying the rule.
- Prompt: select the existing prompt that should be used with this automation rule. For example, a prompt for generating meta title.
- Field: select one field that will be used for inserting the prompt output. For example, a
Product Meta Titlefield. - Include target field value into prompt: set to
Yesto expose the current value of the configured field to the prompt as the{{ global.input }}variable. The value follows the prompt's Get variables' values from and Remove HTML tags from input settings, identical to other variables. Most useful for translations — see How to translate content with a prompt. - Conditions: select conditions to adjust entities for which the rule should be applied. Leave blank if the rule should be applied for all entities of the type selected at the stage 1. The condition attributes offered depend on the Entity type selected above:
- Products: conditions are grouped into Product (core attributes, e.g. Name, SKU, Categories, Price), Product Attribute (any other attribute enabled for promo rule conditions, including custom ones), and Product Additional — extra conditions added by this extension:
- Created (days ago) / Updated (days ago): how many days ago the product was created/last updated.
- Quantity: the product's stock quantity.
- Price - Final Price: the discount amount, i.e. the difference between the regular price and the current final price.
- Percent Discount: the discount as a percentage of the regular price.
- Set as New: whether the product is currently marked as New (Yes/No).
- Is Salable: whether the product is currently salable (Yes/No).
- Categories, Blog MX posts, Blog MX categories: conditions are limited to the entity's own attributes (no additional smart conditions).
- Products: conditions are grouped into Product (core attributes, e.g. Name, SKU, Categories, Price), Product Attribute (any other attribute enabled for promo rule conditions, including custom ones), and Product Additional — extra conditions added by this extension:
Logs
Contains information about the application of the rule.
- Level: shows the priority of the message's importance:
- Error
- Info
- Message: brief information about the rule's operation.
- Additional data: additional technical information for debugging the rule (prompt_id, title, code, forced, etc.)
- Logged at: the date and time when the rule was triggered.
To apply rule immediatelly after saving, use the CLI command:
bin/magento mirasvit:assistant:apply-rule --id 1
Where 1 is the identifier of the automation rule.
You can add command to Cron if necessary run it automatically.