How to create a new email template
The email template allows you to design the content, layout, and structure of your email messages. This helps you customize the emails that will be sent to customers in response to specific events or actions.
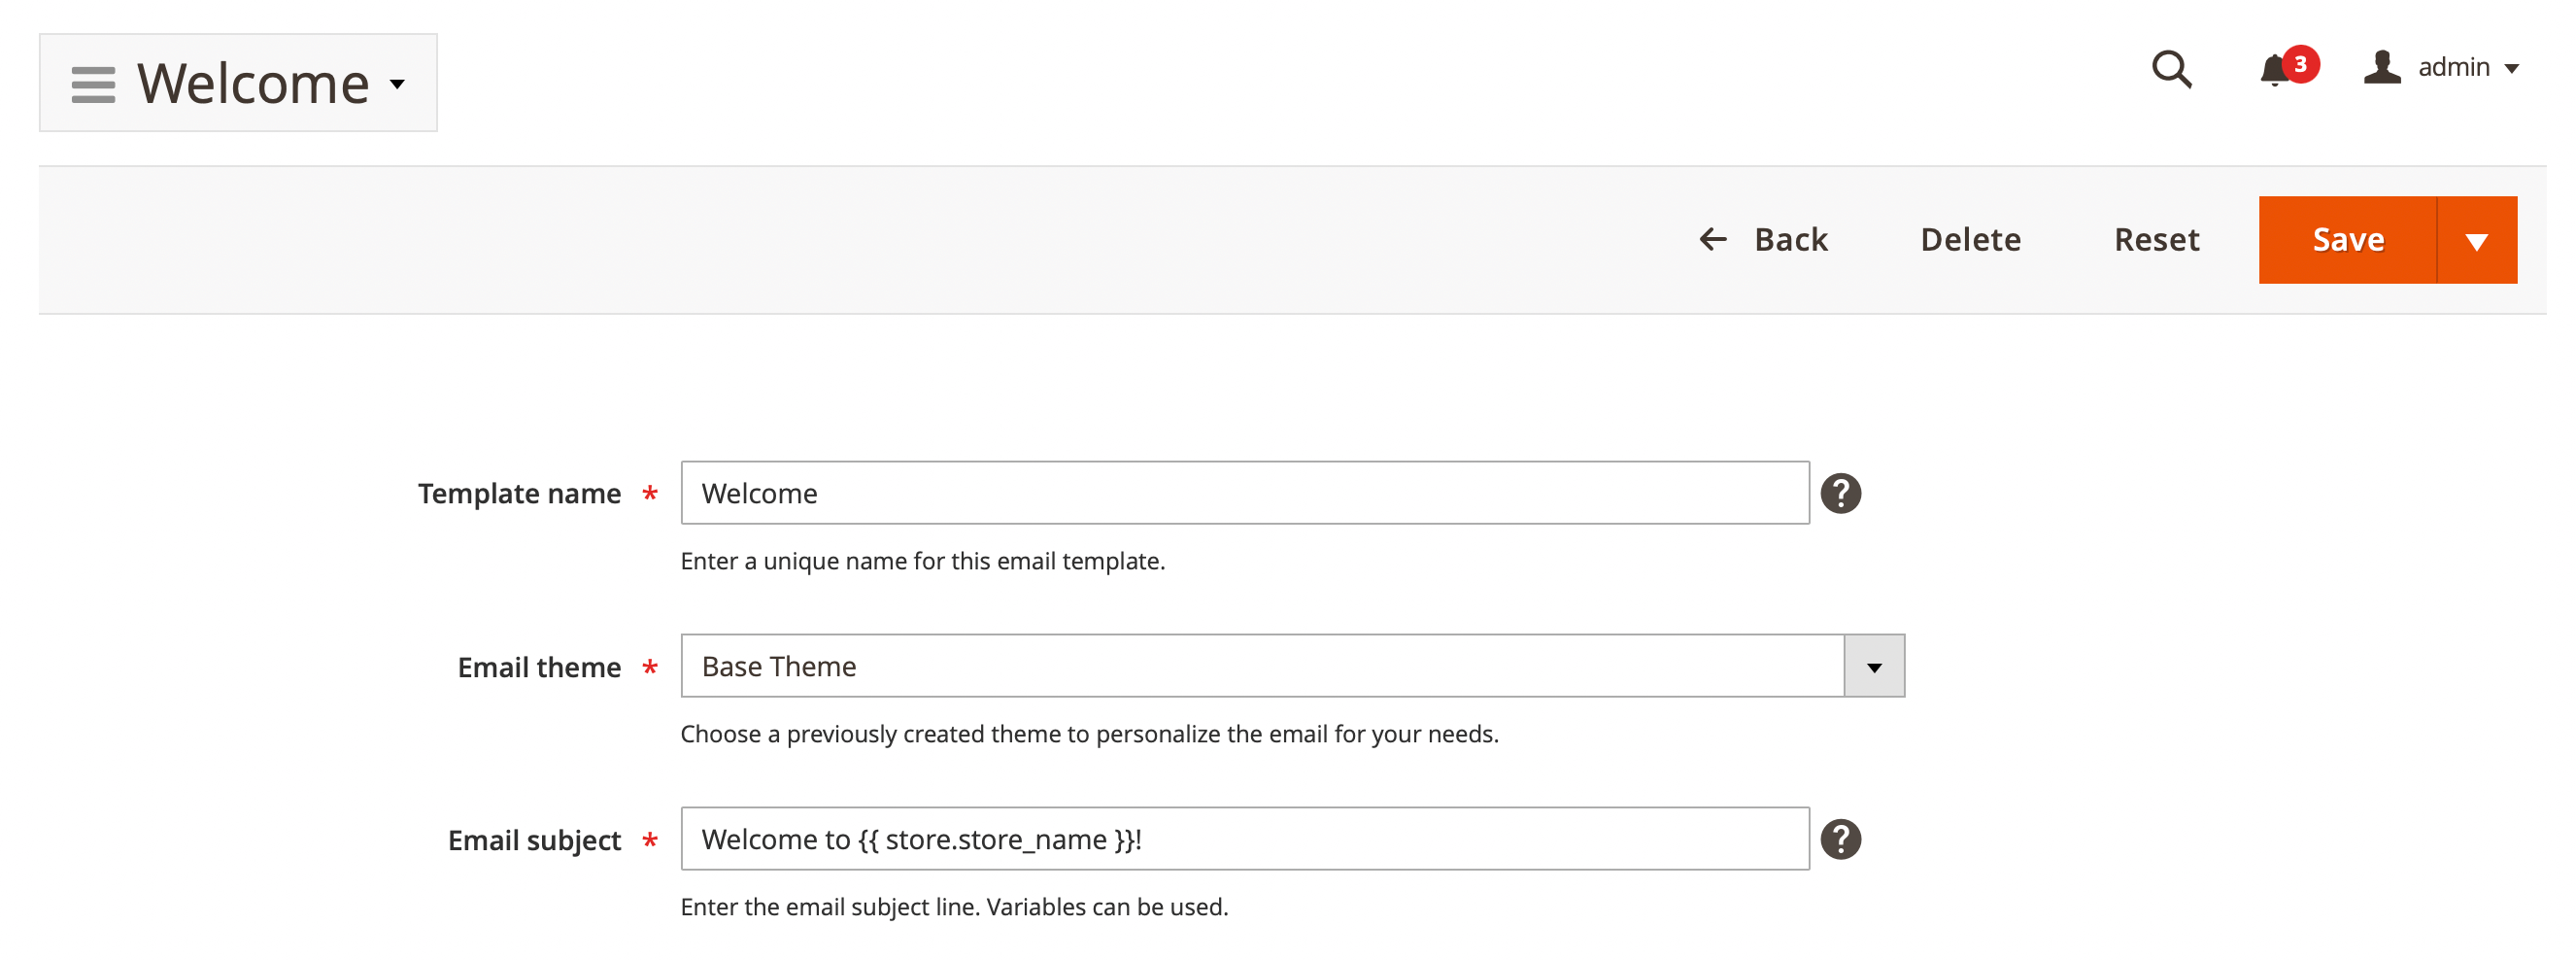
Go to Marketing -> Email Designed -> Manage Templates, and press the Add template button. It will bring you to the first stage of Template creation, with the following basic properties:
- Template name: name of the template
- Email theme: one of the themes, defined at Marketing -> Email Designed -> Manage themes. Read more in the Themes section.
- Email subject: the default subject which will be used in emails, based on this template.
Saving a template at this stage does not actually create a template, but a draft stub. After it is saved, you need to reopen it using the Edit action, and enter contents.
The template edit page breaks into two panels - left (Areas pane) and right (Preview pane).
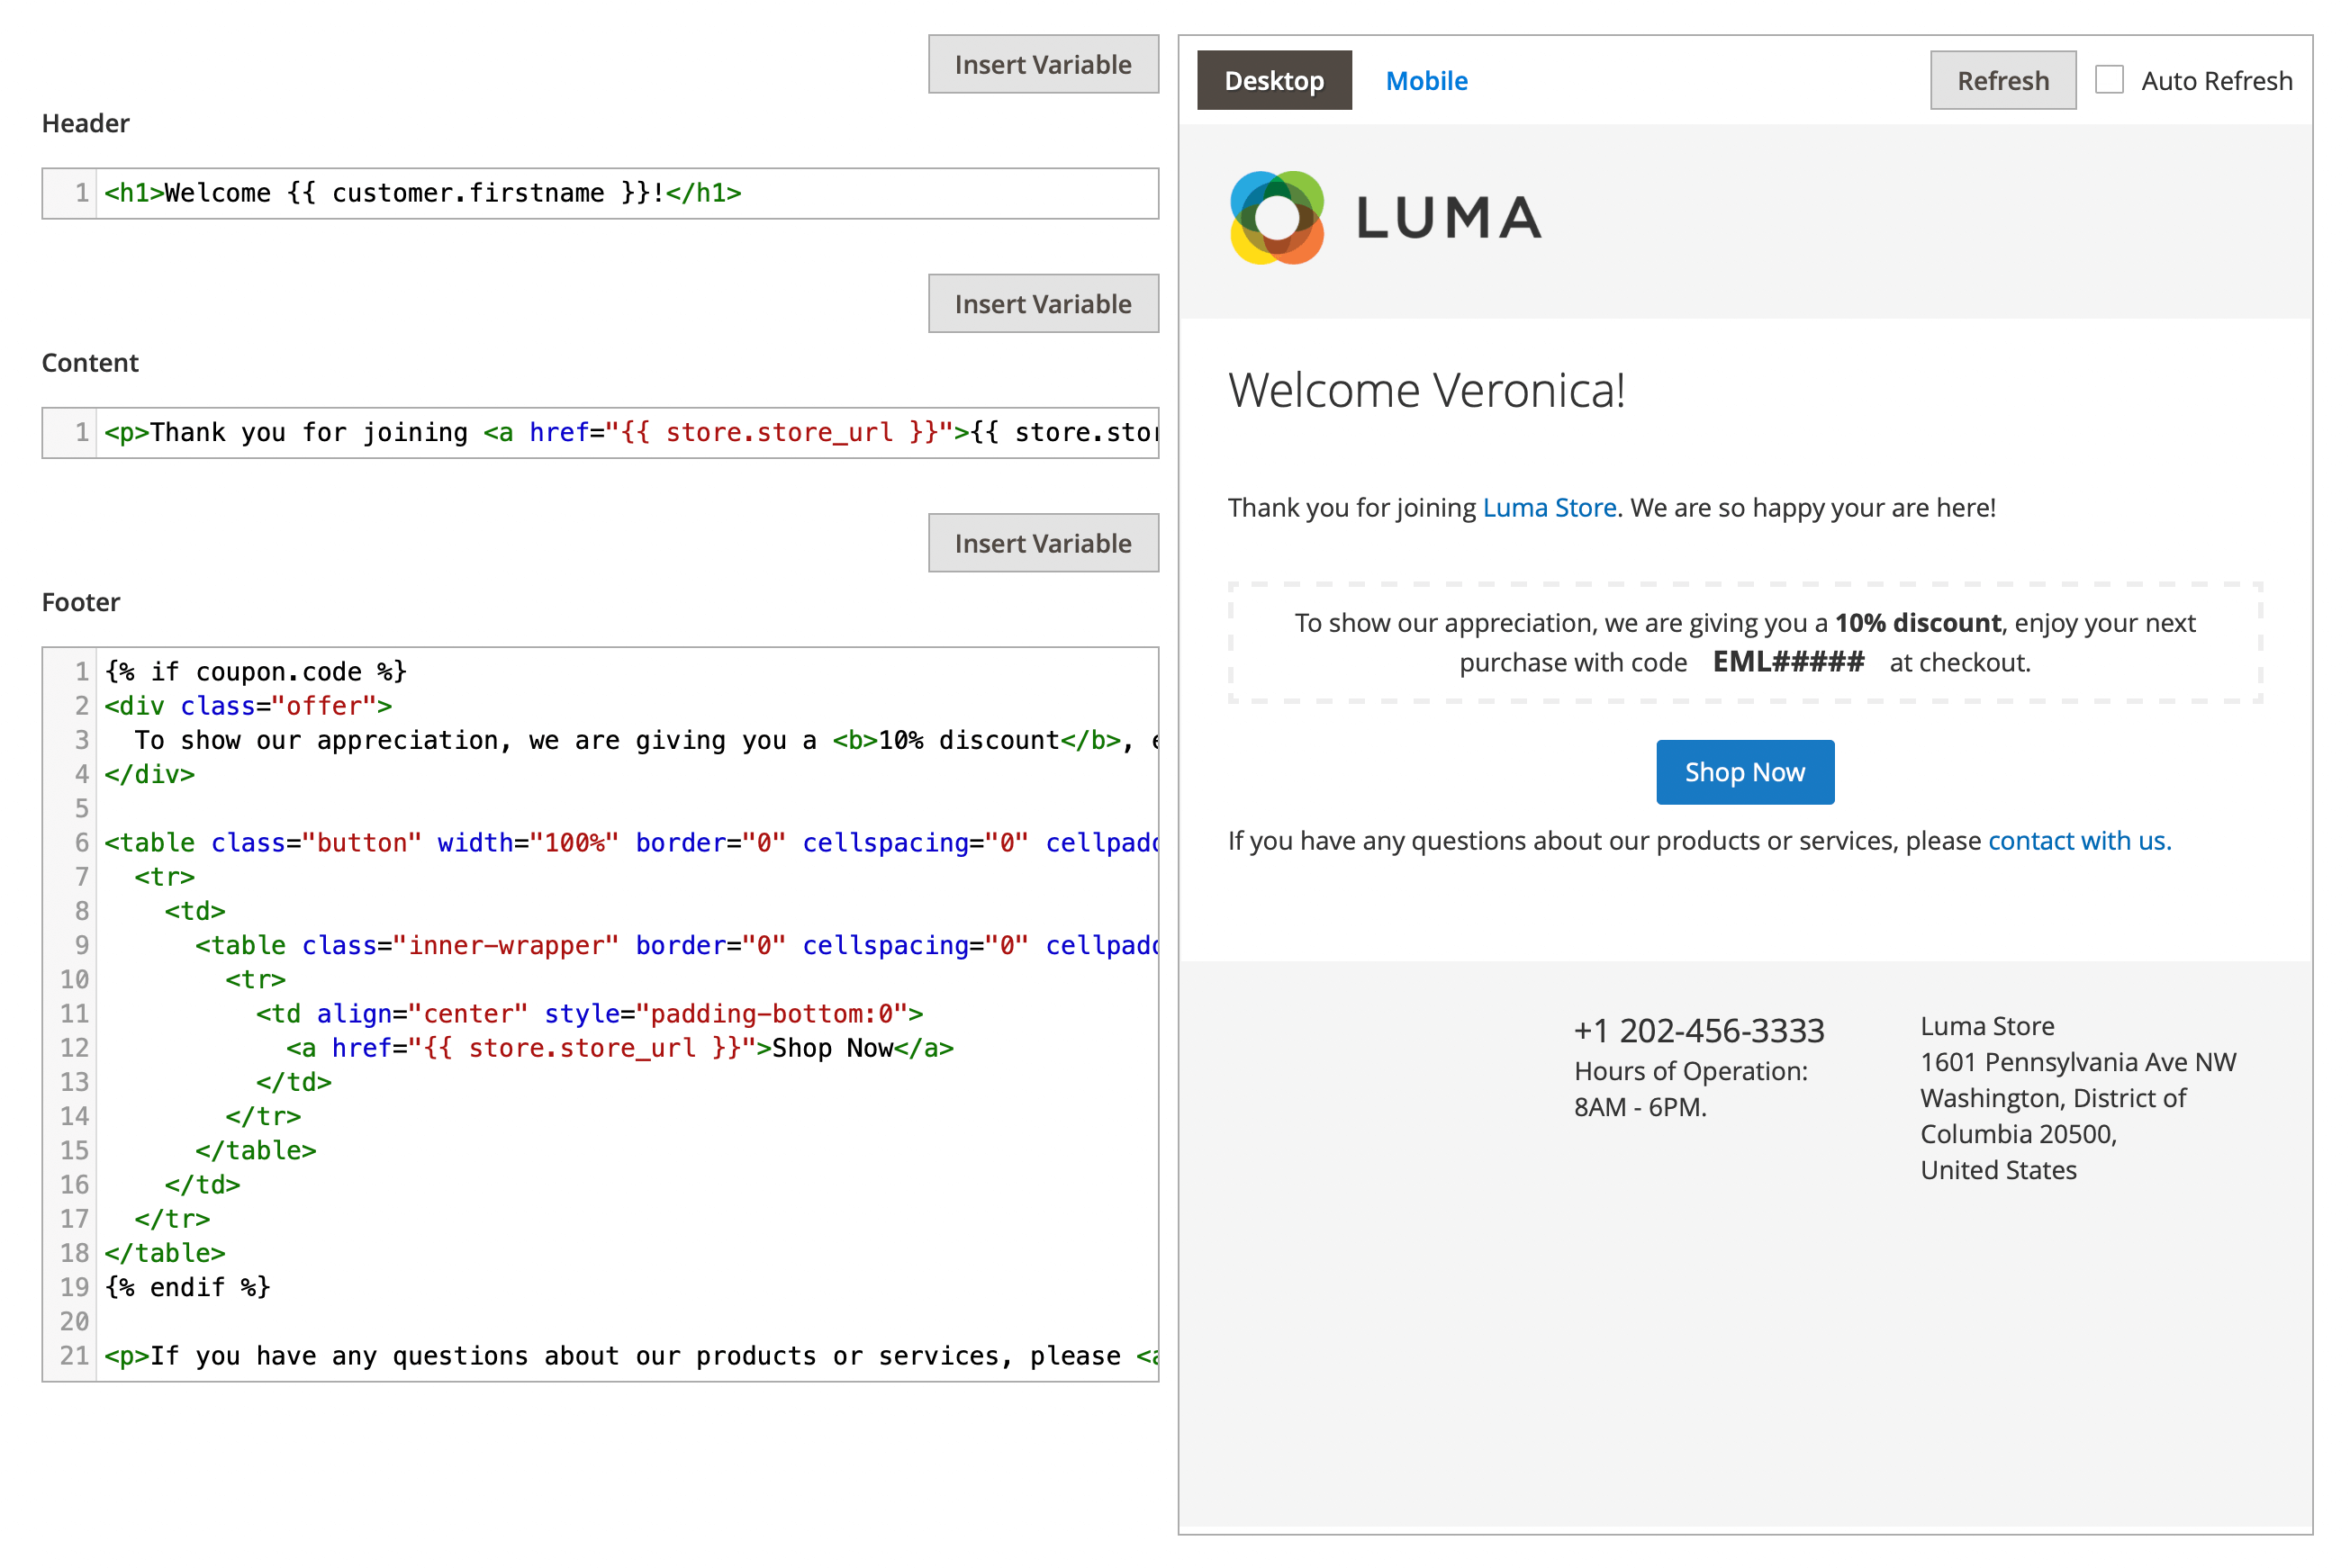
Areas are parts of your email. They depend on your store's design, and your desired look & feel, but should consist of three areas:
- Header: will be displayed at the very top of your email.
- Content: is the main body of your template. Here you can enter your message and other details.
- Footer: will be displayed at the very bottom of your email.
You can use Variables in any part of template. The Insert variables button will help you to pick up the desired variable interactively.
All of these parts can be previewed on the Preview Pane in both Desktop and Mobile versions.
You can also change the template area, and have an instant preview without saving. For that, you need to set the Auto-refresh checkbox at the preview pane, or press the Refresh button.
The templates used the basic pattern to show all products from the quote/order in an email:
  {% for item in this.all_visible_items %}
  ---
  {% endfor %}
To send only the first active product in an email, you need to modify this pattern:
  {% for item in this.first_visible_item %}
  ---
  {% endfor %}