How to Install Extension in Magento 2: Step-by-Step Guide
-
 Eugen Barilyuk
- How to & Tutorials
- Updated: Nov 20, 2025
- 19 min read
The default Magento 2 installation offers robust functionality for most online stores, but to tailor it to your business, you will often add third-party extensions that help improve performance, increase sales, retain customers, strengthen security, and more.
This step-by-step guide explains how to install an extension in Magento 2 via Composer or by placing its code in the app/code directory, and how to complete the setup safely.
It also shows where to get trusted extensions (Adobe Commerce Marketplace, Packagist, reputable vendor stores), which pre-install checks to run, what to do after installation, how to quickly troubleshoot common issues, and how to upgrade or uninstall them when needed.
Table of Contents
- Before installing an extension (checks, backups, maintenance mode)
- Where to get a Magento extension
- How to install a Magento 2 extension via Composer
- How to install a Magento 2 module manually (zip/app/code)
- Complete the installation and troubleshoot common issues
- How to upgrade a Magento 2 extension
- How to uninstall a Magento 2 extension
- Summary
Before installing an extension (checks, backups, maintenance mode)
A best practice is to install and test any new extension in a development environment before deploying it to your production store. If your Magento installation is hosted on Adobe Commerce Cloud, changes must be applied in a Magento development environment first and only then promoted to production.
Please note that this article does not cover upgrade specifics for Magento installations hosted on Commerce Cloud.
Before you start, connect to your server over SSH, open the Magento root folder, and check the current Magento version. Run: php /path/to/magento/bin/magento --version
Keep your Magento installation on a current, supported version and update it regularly. This helps you receive fixes and new features on time and reduces the risk of compatibility problems with third-party extensions.
Check PHP version
Make sure your PHP version meets the requirements listed on the Magento System Requirements page.
To check the PHP version, run: php -v
If the PHP version is compatible with your Magento version, you can execute commands that start with bin/magento.
If the command returns an error or shows an incompatible PHP version, explicitly call the PHP interpreter when running Magento commands. Without the explicit call, you may receive a PHP Parse error: syntax error, unexpected ')' when executing the command bin/magento.
Depending on the OS distribution, installation method, hosting control panel, or Docker setup, the PHP executable name may differ. Common examples include php, php8.3, php83, rh-php83, ea-php83, plesk-php83, [email protected], or php-custom.
If you are not sure which binary to use, consult your system administrator to understand how PHP is installed on your server. Where possible, ask them to configure the server so that the php command points to a version that is compatible with your Magento installation.
For a quick mapping of Commerce releases to supported PHP versions, use the Magento-PHP compatibility matrix provided in the official Magento System Requirements.
Pro Tip: To get more detailed information about which PHP binaries are available and which one is used from the PATH environment variable when multiple versions are installed, you can run commands such as:
which -a php
ls -1 /usr/bin/php or ls -1 /usr/local/bin/php
alias | grep php
Check Composer version
Use the command below to check the Composer version and confirm it’s installed and compatible before proceeding. If you only install extensions manually from ZIP and do not use Composer for your project, you can skip this step.
To check the version, run: composer --version
Pro Tip: On some servers Composer is not installed globally, and the project instead relies on a local composer.phar file. In that case, you can search for it with a command such as
sudo find / -type f -name "composer.phar"(or locate it manually) and then check its version withphp composer.phar --version.
If Magento system requirements aren’t met, resolve them before installing modules.
Create Magento backup
Before installing extensions and updates on the production store, we strongly recommend that you make a backup.
Note: Magento deprecated its built-in backup tools starting with version 2.3.0 and recommends using third-party backup tools.
A complete backup usually consists of two steps: creating a copy of the Magento files and creating a copy of the site database.
Archive Magento 2 files
The following directories do not contain unique data, are filled during normal site operation, and can be excluded from the backup to reduce its size:
- var/cache
- var/log
- var/report
- var/session
- generated (generated files)
- pub/static (static files)
In the Magento root directory, run:
tar -czf magento-files-$(date +%F).tar.gz \
    --exclude=var/cache \
    --exclude=var/log \
    --exclude=var/report \
    --exclude=var/session \
    --exclude=generated \
    --exclude=pub/static \
    .
This command creates a .tar.gz archive that contains all site files and directories except the ones listed above. Copy this archive to your backup disk.
Create a MySQL database dump
Use the mysqldump utility to export the database to an SQL script.
Run: mysqldump -u <DB_USER> -p <DB_NAME> | gzip > magento-db-$(date +%F).sql.gz
Here, <DB_USER> is the MySQL user and <DB_NAME> is the name of the Magento database. The command will prompt for the password (-p). The dump is immediately compressed via gzip into a file with a name like magento-db-2025-10-21.sql.gz, so you get an SQL file containing the database data.
For example, if your database name is myshop-prod and the username is root, the backup command will be: mysqldump -u root -p myshop-prod > myshop-prod.sql. The backup file myshop-prod.sql will be created in the current directory; copy it to your backup disk when the process finishes. Depending on the size of your store and the amount of data, backup and restore operations may take some time.
Pro Tip: To simplify working with the database, you can use graphical clients such as MySQL Workbench to create a dump. This is convenient if the database is located on a remote server and you want to perform the backup through a GUI on your computer.
For example, if you prefer this GUI-based approach, set up access and connect to the remote database in MySQL Workbench. In the Navigator panel on the left, go to the Management section and choose Data Export. Select your Magento database, then in the Options section choose Export to Self-Contained File so the database is exported to a single
.sqlfile. Click Start Export and, after the process completes, copy the resulting dump file to your backup disk.
Enable maintenance mode
During installation or upgrade, the site remains accessible to customers, which can cause issues for visitors who reach sections that are being updated. To reduce the risk of errors, enable maintenance mode before you start.
Background cron jobs (such as reindexing, sending emails, or running integrations) can interfere with installation, cause table locks, or conflict with setup processes. Before you begin, temporarily pause cron jobs and make sure no setup:upgrade, cron:run, indexer:reindex, or similar processes are running in the background. For more details on recommended procedures, see the Magento DevDocs.
Maintenance mode is useful while maintaining, upgrading, or reconfiguring the site.
To enable maintenance mode run: php bin/magento maintenance:enable
Where to get a Magento extension
Magento supports extending its functionality with several types of third-party components, and the most common are these three types of extensions:
- Modules that extend Magento's capabilities and customize its behavior (for example, see this overview of must-have extensions)
- Themes that change the look and feel of pages that are visible to your customers and to the admin panel
- Language packages that help to localize your store to a particular language
Search and purchase any of those types in the following places:
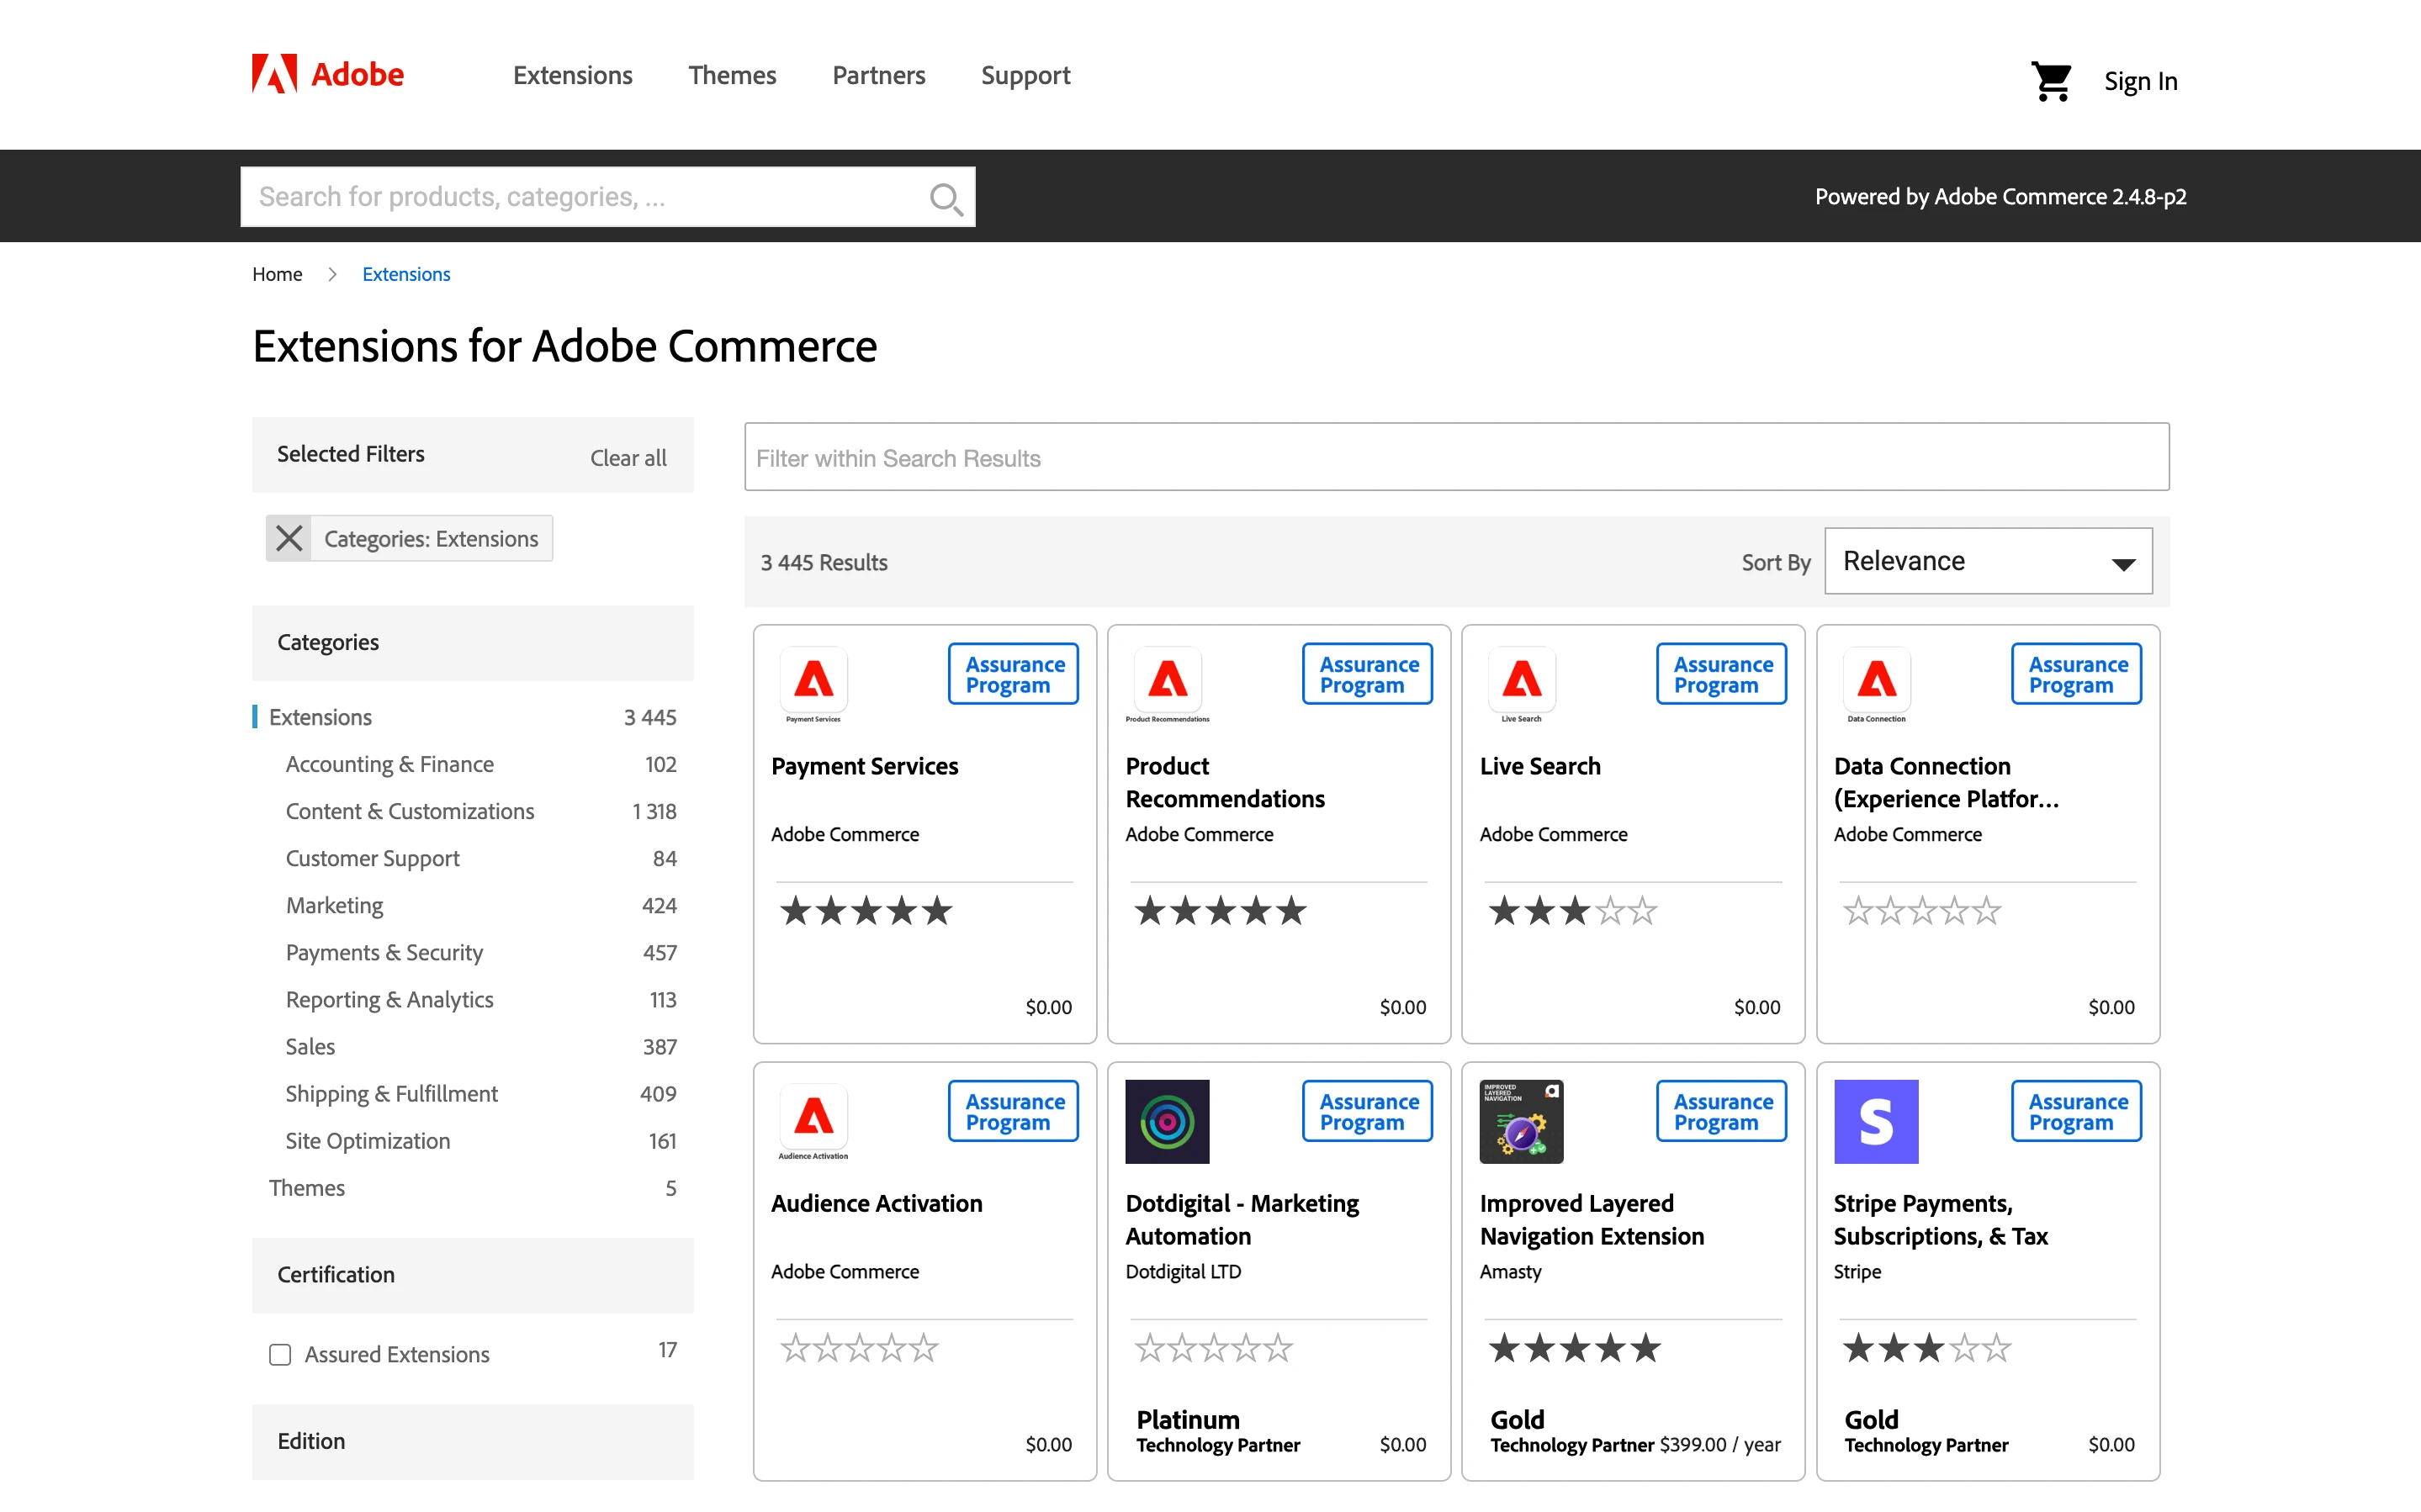
Adobe Commerce Marketplace (formerly Magento Marketplace). This is the official marketplace for the Magento ecosystem, where Adobe reviews extensions before publication.
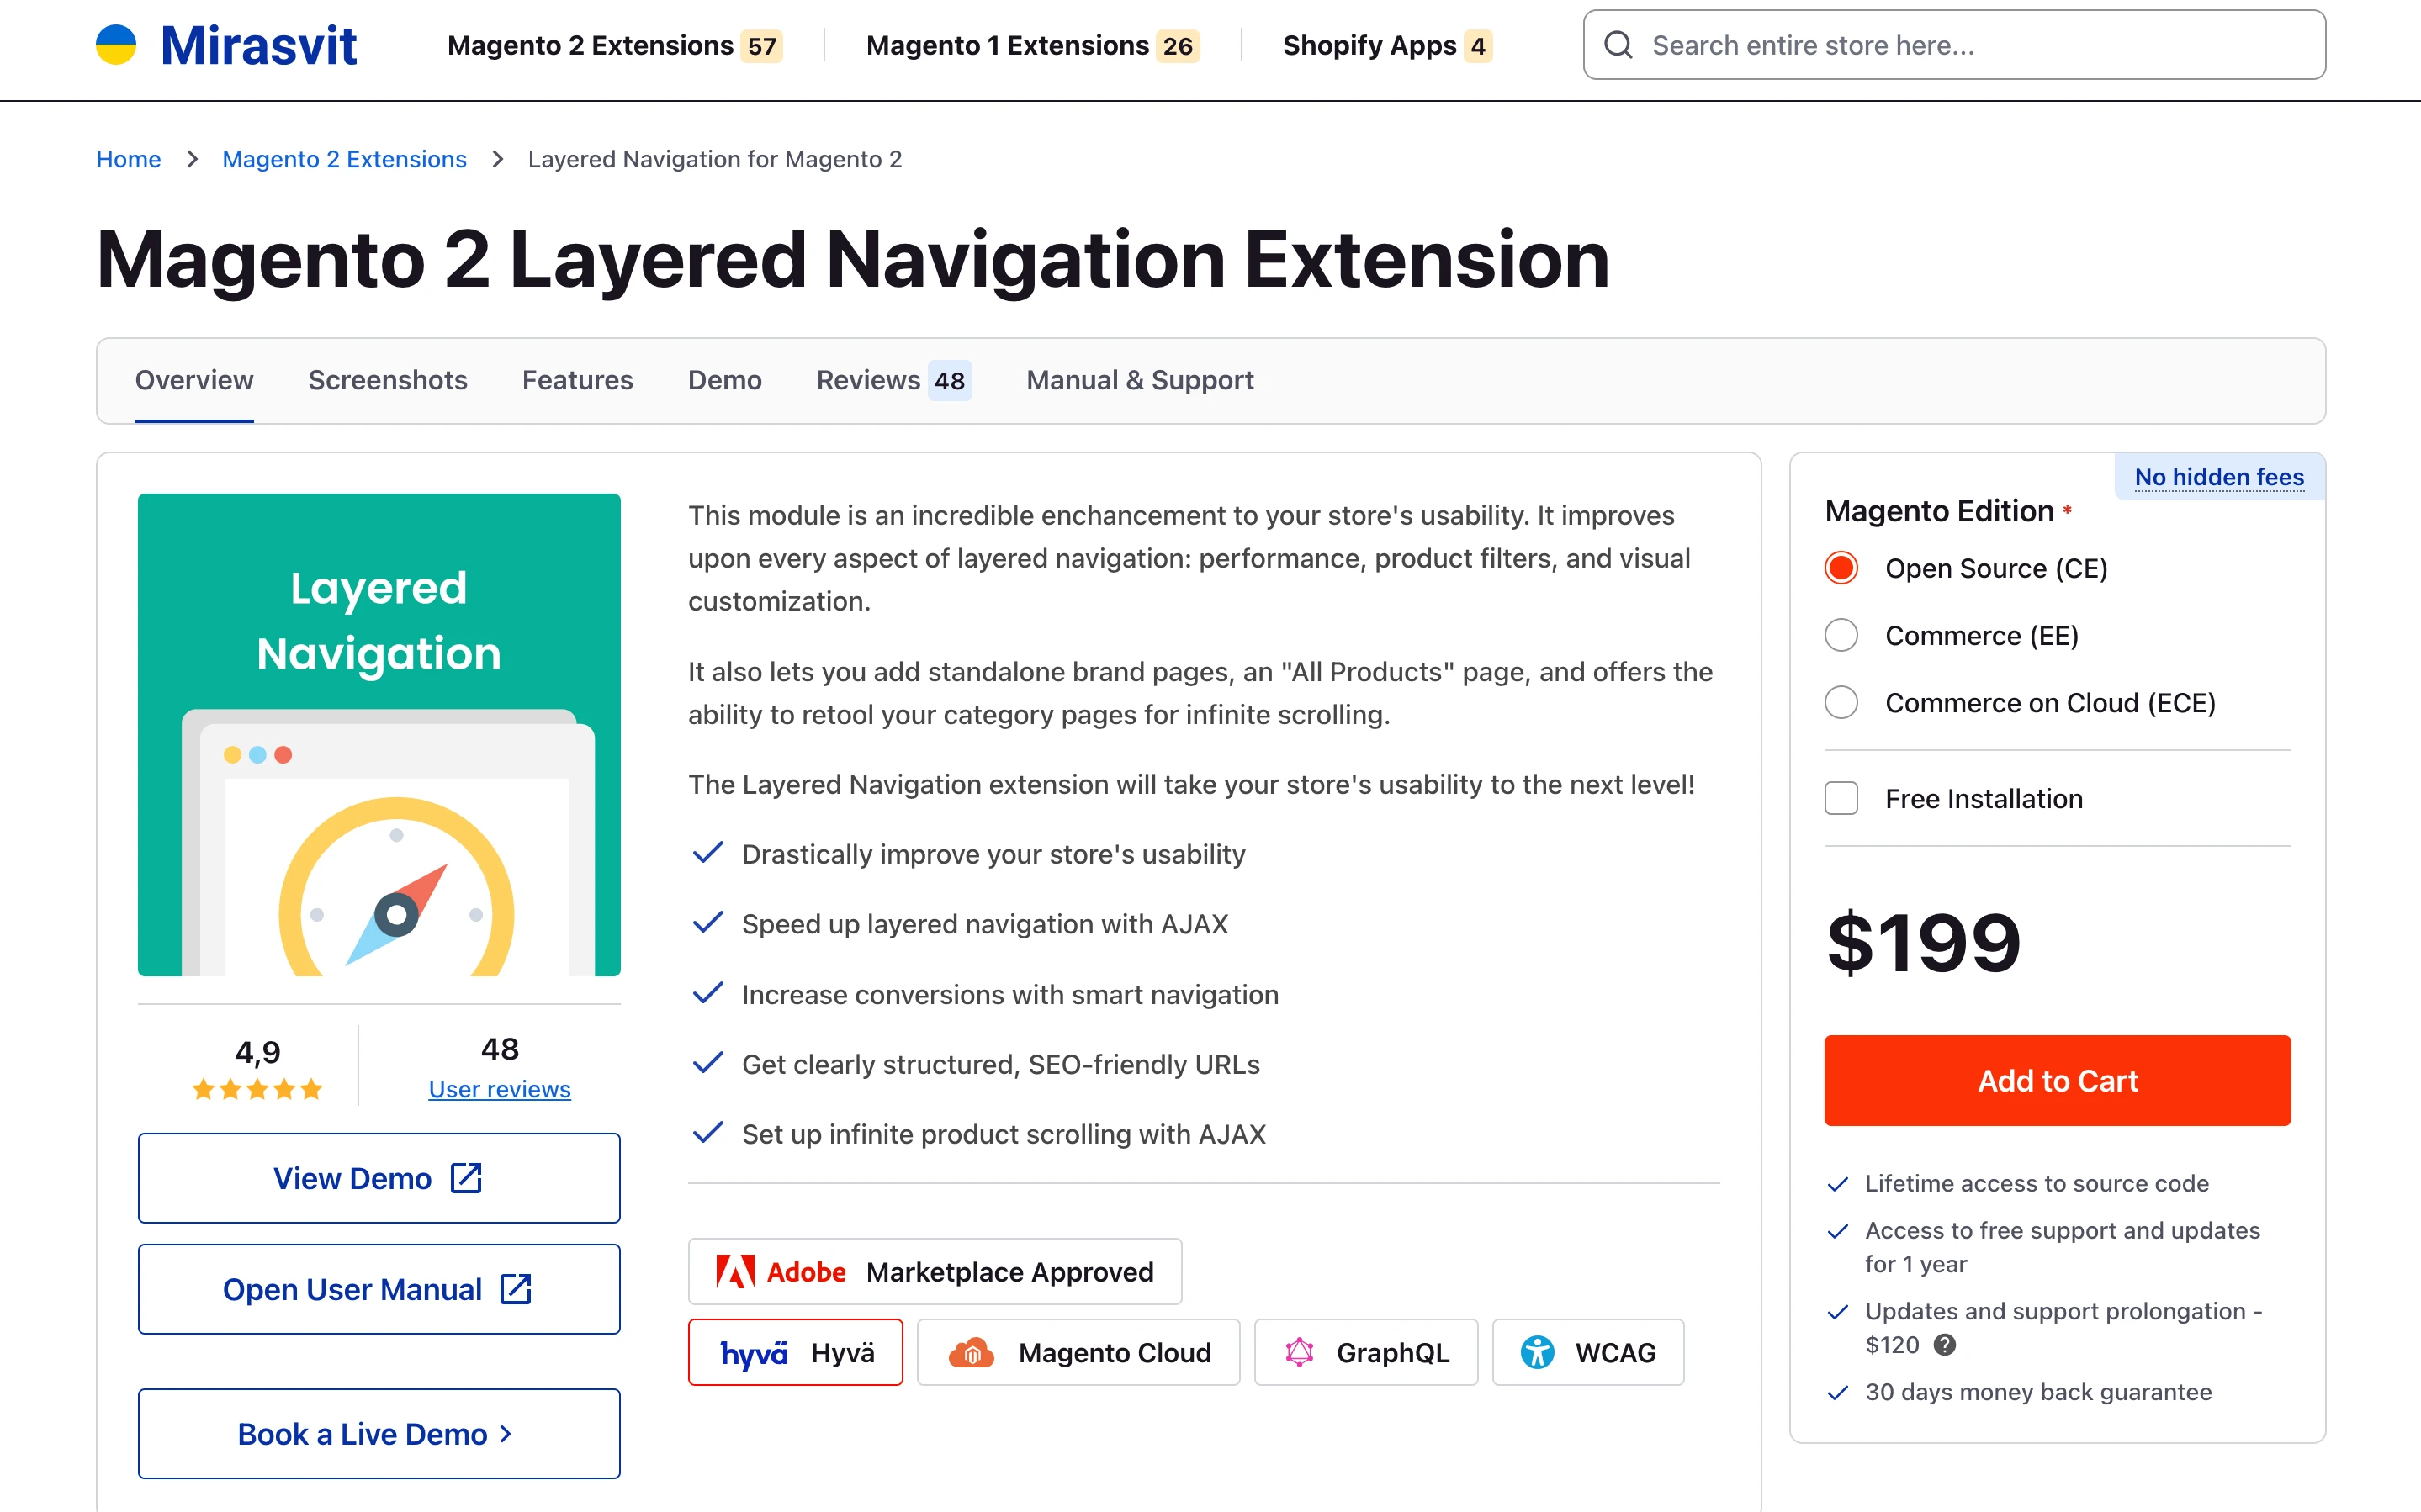
Magento developer store. The official Mirasvit website is a store for Magento 2 and Magento 1 extensions.

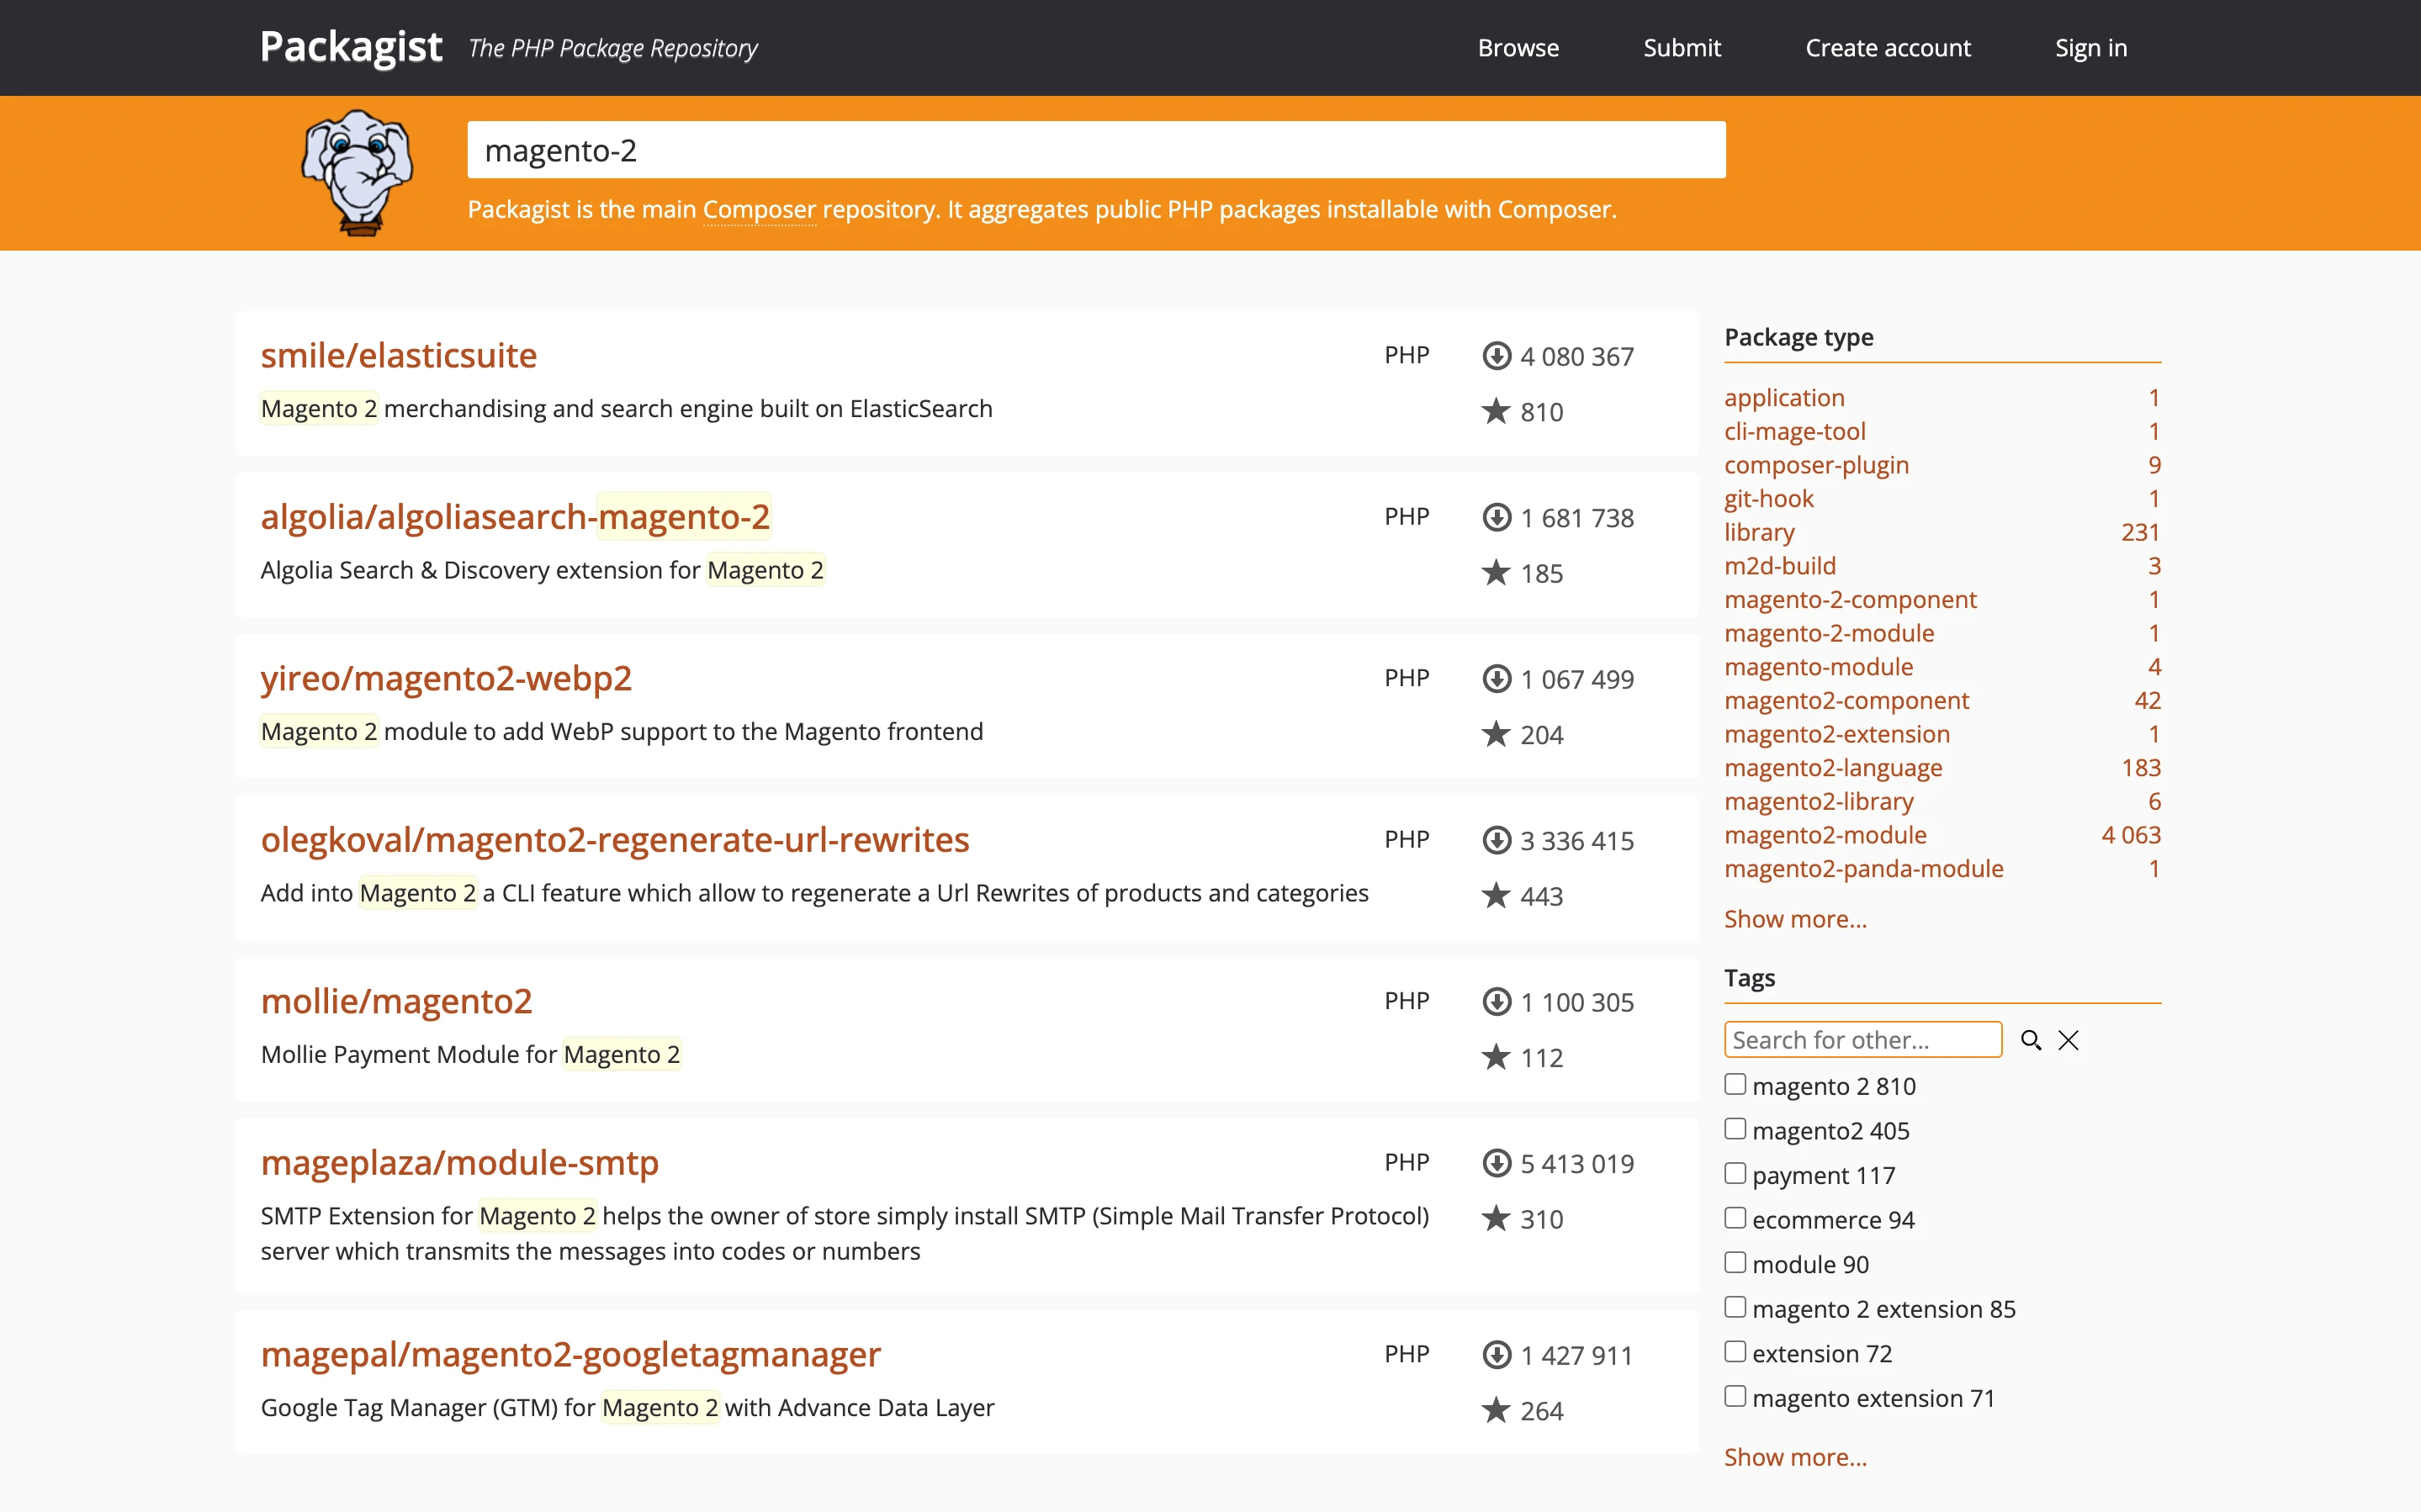
Packagist. The most common method of installing Magento extensions is via the Composer tool, with Packagist as its default repository. You can check out free extensions there.
How to choose the installation method
There are two supported ways to add a module: via Composer or by placing the code under app/code from a ZIP.
Composer is the official and recommended method for production because it resolves dependencies, keeps composer.json and composer.lock in sync, supports clean updates and rollbacks, and fits CI/CD workflows. When installing Marketplace packages, Adobe Commerce Marketplace access keys are required (public = username, private = password).
The ZIP route suits custom or private modules, local development, environments where Composer is not available, or cases where the module is not available via Composer. With this approach, dependencies and updates are managed manually.
Below, we will walk through both options.
Pro Tip: If you already have other modules from the same vendor installed, check where they were placed (
/vendor/or/app/code/) and install new modules in the same location. This helps avoid duplicating dependent packages.
How to install a Magento 2 extension via Composer
Log in to your server’s command line, either directly over SSH (for example, ssh [email protected]) or via a terminal in your hosting control panel, such as cPanel. Then change to the Magento root directory with cd /path/to/magento/root/folder/ and follow the steps below to complete the installation.
Step 1: Get the Composer installation command
- Adobe Commerce Marketplace: create or sign in to your account and verify your email. Find and purchase the needed extension for your Magento version. Open My Profile > My Purchases, then Technical Details to copy the component name (vendor/module-name) and version. Go to My Profile > My Products > Access Keys, create a new key, and save both values. When Composer asks for authentication, use the public key as the username and the private key as the password. Install with:
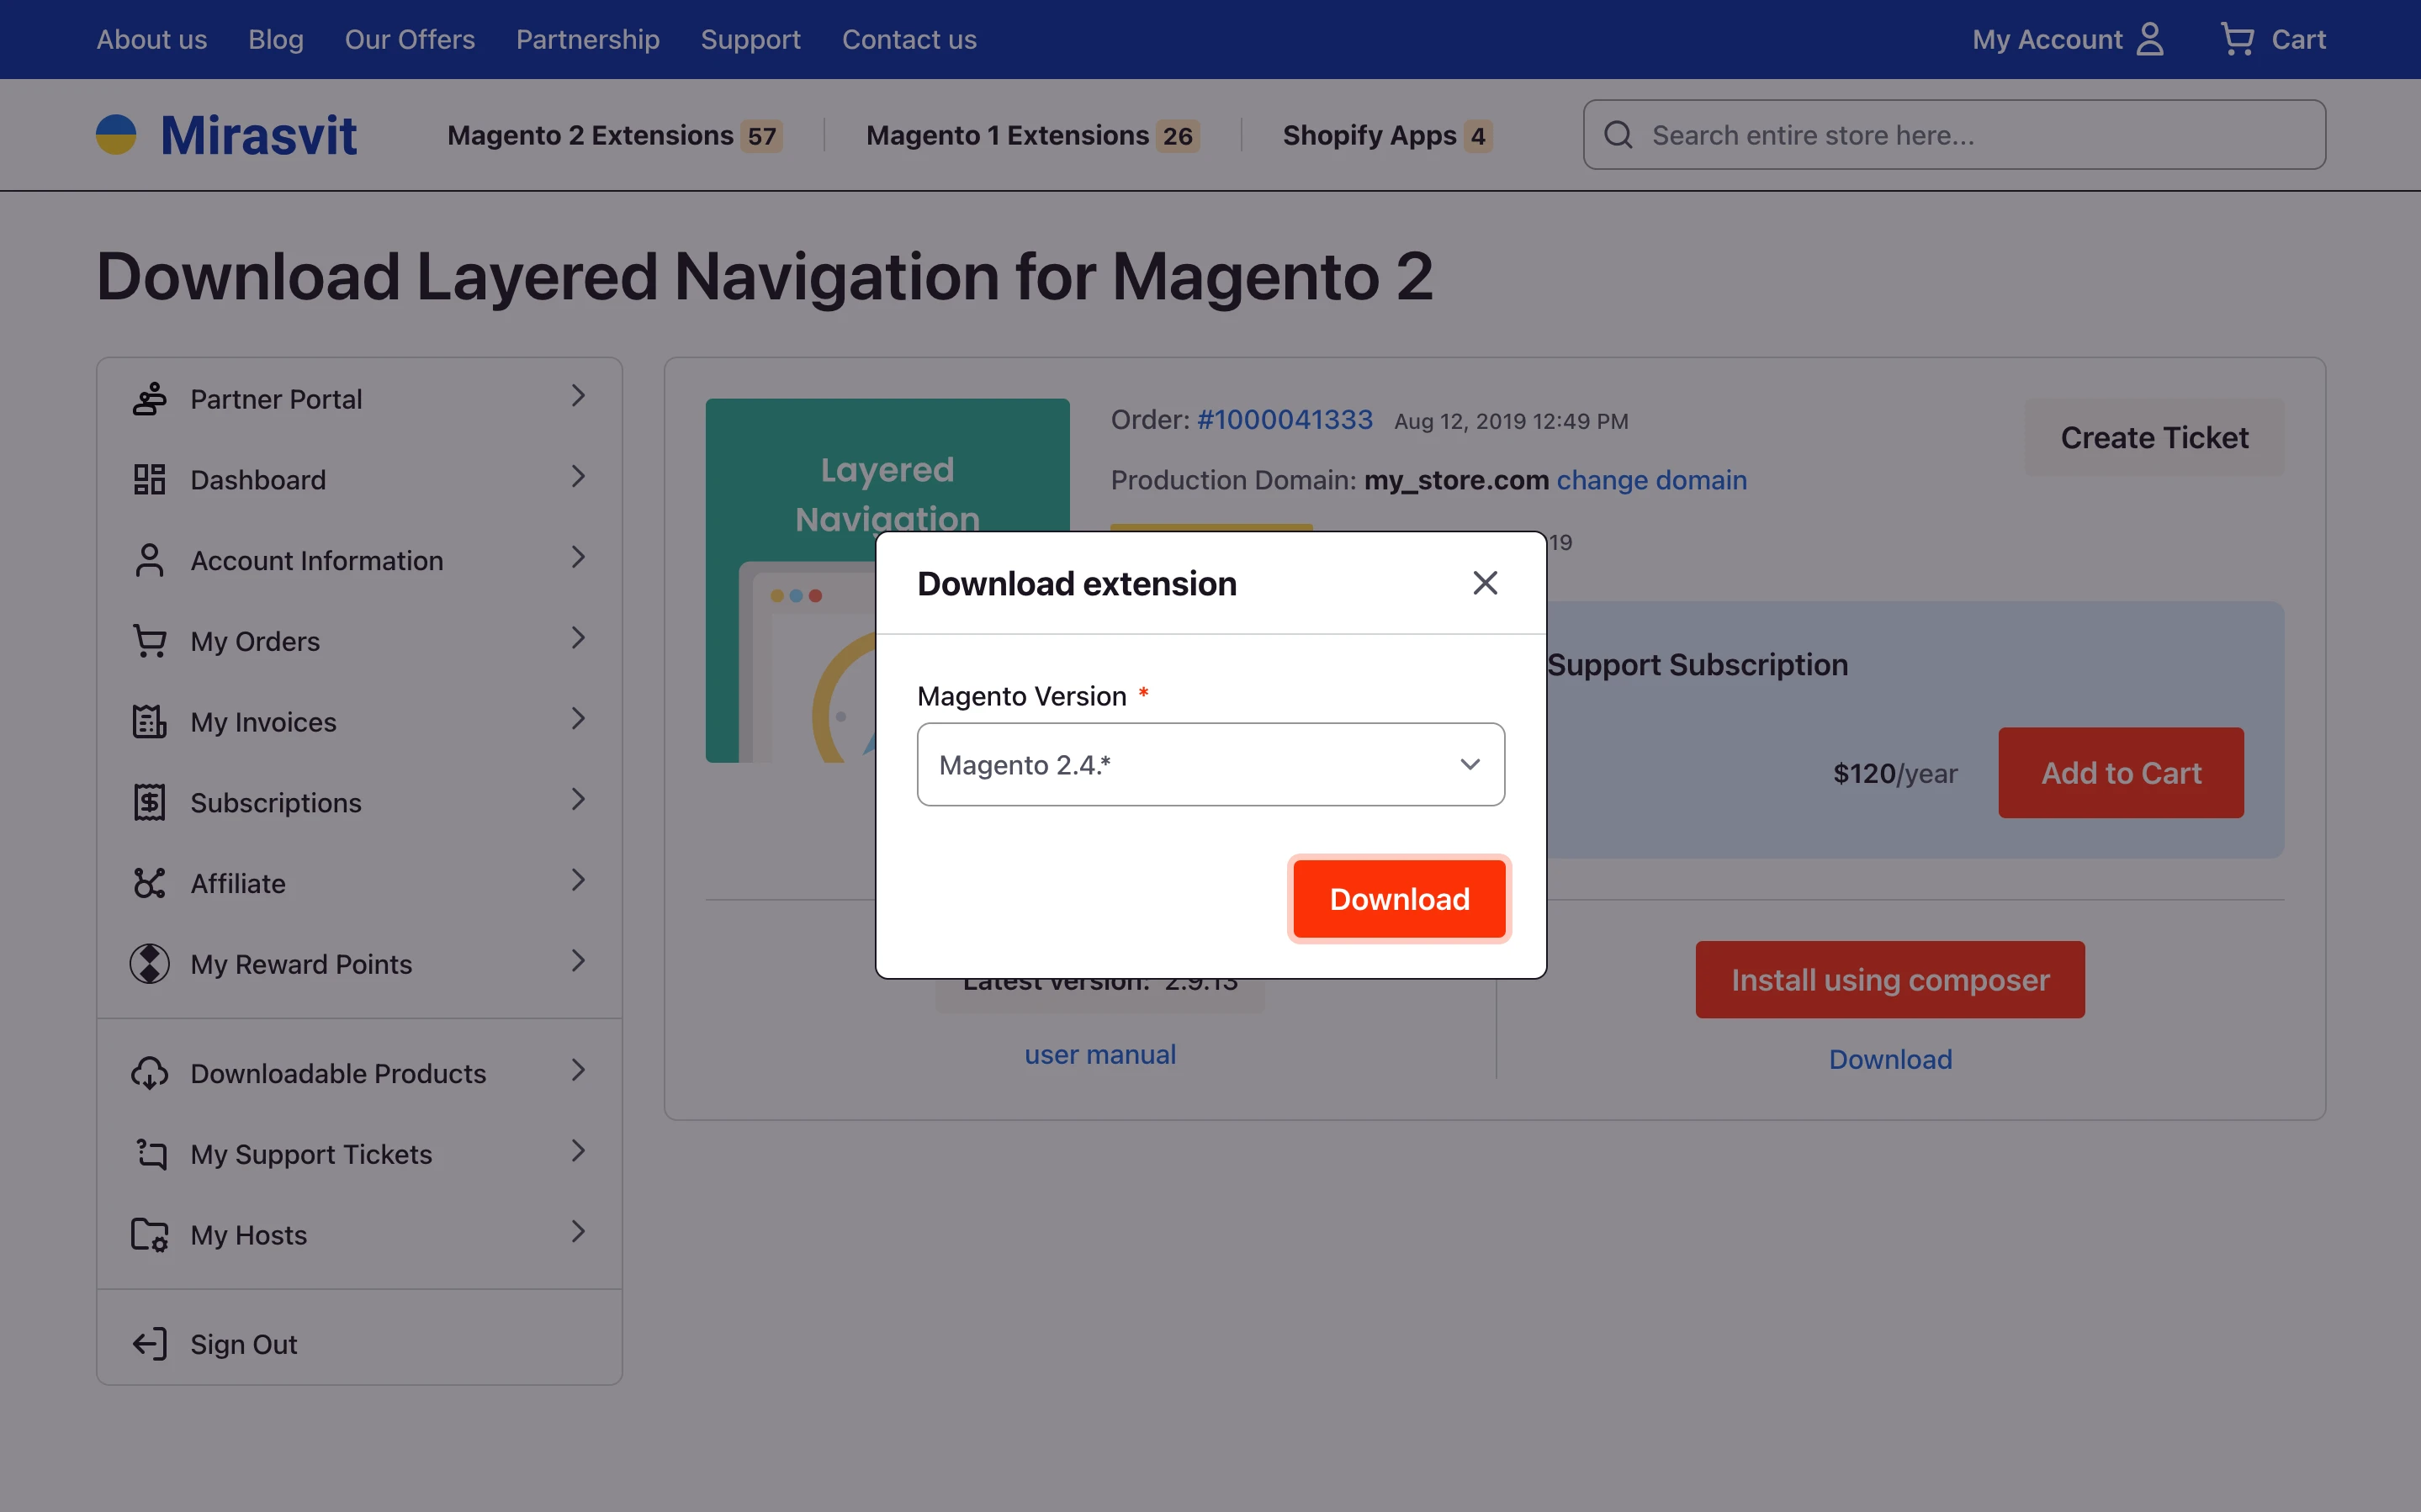
composer require vendor/module-name[:version]. This is the typical starting point when you install a Magento 2 extension from the Adobe Commerce Marketplace using Composer. Magento developer store: to get a module directly from the vendor, go to their site, purchase the module, then open the installation manual and follow the vendor’s installation steps. For example, after you buy a Mirasvit Magento 2 module, you will need to specify your production domain; after that, the My Downloadable Products page will provide access to a ZIP archive with the extension and a private Composer repository URL.
Tip: Always read the installation manual carefully. Some extensions require additional libraries or services to work correctly (for example, Liquid, Sphinx, and similar components).
- Packagist: go to packagist.org and search for the module. Filter by Package type magento2-module if needed, open the package page, and copy the composer require
vendor/module-name[:version]command shown there. Packagist packages are not Adobe-reviewed, so check the vendor’s reputation and code before installing.
Step 2: Install the package
Run the Composer installation command you obtained. The general form is:
composer require <component-name>
Note: if prompted for a username/password, enter your Adobe Commerce Marketplace access keys (public key as username, private key as password).
- For extensions purchased on the Adobe Commerce Marketplace, use the component name provided by the marketplace. Example:
taxjar/module-taxjar. For extensions purchased on the Mirasvit store, you will receive a list of two Composer commands. The first command connects Composer to the Mirasvit repository and provides the license information:
composer config repositories.mirasvit-module-name composer https://LICENSE:[email protected]/LICENSE:LICENSE/The second command launches the installation of the purchased extension:
composer require mirasvit/module-name:*- For extensions from Packagist, paste the Composer command shown on the package page (e.g.,
vendor/module-name).
Pro Tip: Use the
--dry-runflag with the composer require command to run a test installation without making any real changes.
This helps you see:
- which dependencies will be installed or updated
- which package versions Composer will choose
- whether there are any conflicts
- how composer.json and composer.lock would change, while leaving the actual files unchanged
After Composer finishes, the code is present in your project, but Magento still needs to register and turn the module on. Enabling the module and applying changes belong to the next step. Proceed to Step 3 to enable the module and run the required Magento commands.
Many extensions are built for Magento’s default Luma frontend (based on Knockout and RequireJS). If your storefront uses Hyvä, which replaces the entire frontend stack, you may need a separate compatibility module for proper UI integration.
Before installing, check if the extension has official Hyvä support or if a Hyvä compatibility module exists, either from the vendor or from the Hyvä community.
Note: Composer can abort an installation due to platform requirement mismatches (PHP, extensions, or library versions). In such cases, resolve the environment issue or install the extension manually from a ZIP package.
Step 3: Apply changes in Magento
After Composer finishes, you still need to enable the module in Magento and let it apply its changes:
php bin/magento module:enable Vendor_Module
Then register the module and run its setup scripts:
php bin/magento setup:upgrade
php bin/magento cache:flush
If the module includes frontend components, run the full sequence for static content:
php bin/magento setup:upgrade
php bin/magento setup:di:compile
php bin/magento setup:static-content:deploy
php bin/magento cache:flush
If the extension requires additional dependencies, install them carefully according to the vendor’s manual before you use it on a production store.
How to install a Magento 2 module manually (zip/app/code)
A manual approach is an alternative path for installing third-party modules in Magento 2 when Composer isn’t available. You will use it most often when you need to install an extension from a ZIP file provided by the vendor. It is also useful if you do not have SSH or other command-line access and can only work with files through your hosting panel.
Note: For production environments, Composer remains the recommended method; the steps below are provided for cases where a ZIP is the only option.
1. Get the ZIP
To download the Magento extension, get the archive from one of these sources: your vendor account (for example, Mirasvit: My Account > My Downloadable Products) or a verified developer repository hosted on a commercial platform, such as GitHub, GitLab, Bitbucket, etc.
2. Upload the ZIP archive to the server
Copy the extension's ZIP file to your Magento server using SCP, SFTP, or your hosting panel.
Example using scp: scp /local/path/module.zip user@host:/path/to/magento/
3. Unzip the package on the server
Connect to the server via SSH, navigate to the Magento root directory and unzip package:
cd /path/to/magento/
unzip module.zip
4. Check and correct the folder structure
After you unzip the archive in the Magento root directory, check where the module files ended up. If you see folders like Api, Block, etc. directly in the root, they need to be moved under app/code.
First, locate the registration.php file and note the module name it declares (for example, Vendor_Module). Then create the target directory and move all module files so that the structure becomes app/code/Vendor/Module/:
mkdir -p app/code/Vendor/Module
mv Api Block etc registration.php <Other_Files> app/code/Vendor/Module/
Here, <Other_Files> means any additional files and directories that belong to the module and also need to be moved into app/code/Vendor/Module.
5. Apply changes (same as after Composer)
Enable the module and finalize the installation with the usual CLI sequence:
php bin/magento module:enable Vendor_Module
php bin/magento setup:upgrade
php bin/magento cache:flush
If the module contains frontend components, you also need to redeploy static content. In that case, run the following commands:
php bin/magento setup:upgrade
php bin/magento setup:di:compile
php bin/magento setup:static-content:deploy
php bin/magento cache:flush
As you can see, the only real difference from Composer is how the code gets onto the server. Composer places it in vendor/vendorname/modulename; the ZIP method puts it in app/code/Vendor/Module. After that, the enable and apply-changes steps are identical.
If you already have the module’s source (for example, from a Git repository), you can also place it directly under app/code/Vendor/Module and then run the same Apply changes sequence, no ZIP step required.
Complete the installation and troubleshoot common issues
This step applies after either method (Composer or ZIP). Finalize the setup and bring the store back online.
Disable maintenance mode: php bin/magento maintenance:disable
To verify that the extension is installed and active, run: php bin/magento module:status --enabled | grep -i Vendor
Replace Vendor with the actual vendor name, such as Mirasvit. If the module appears in the list, it's enabled. Then log in to the Magento Admin panel and navigate to Stores > Configuration to configure the extension if it includes settings.
Tip: Always refer to the module's user guide for any additional installation steps or required initial setup.
Quick troubleshooting checklist
Use this checklist for troubleshooting extension installation errors in Magento 2 before escalating to support.
| Issue Area | Details / What to Check |
|---|---|
| PHP version & extensions | Ensure PHP meets module requirements. Check missing extensions (intl, soap, bcmath, etc.). Increase memory_limit and max_execution_time if CLI commands hang. |
| Permissions & ownership | var/, pub/static/, and generated/ must be writable. Use chown/chmod commands. |
| Module path & registration | Folder structure must match registration.php. Example: app/code/Vendor/Module/. Avoid typos in namespaces/folder names. |
| Duplicate modules | Ensure the same module is not present in both app/code and vendor/. This causes conflicts and fatal errors. |
| Composer dependency issues | Use composer update --with-all-dependencies. Avoid --ignore-platform-reqs in production. |
| Production CLI sequence | Run: setup:upgrade → di:compile → static-content:deploy -f → cache:flush && cache:clean. |
| PHP OPcache | Clear OPcache or restart PHP-FPM/Apache if changes do not appear. |
| Magento logs | Check var/log/system.log and var/log/exception.log. Use Developer mode to see full stack traces. |
| Database permissions | DB user must have ALTER, CREATE, DROP, etc. Ensure no read-only filesystem issues. |
| Missing dependencies | Check if module requires additional libraries/themes like Hyvä, Elasticsearch, etc. |
| Frontend issues | Clear browser cache. Check for theme override conflicts or JS errors in the browser console. |
At this point, you have completed installation via Composer or ZIP, run the post-install commands, and worked through the troubleshooting checklist.
The extension should be active in Admin and visible on the storefront.
Next, to round out the workflow, the following sections briefly explain how to upgrade or remove Magento 2 extensions after installation.
How to upgrade a Magento 2 extension
When updating an installed extension, start by running the pre-install checks described in the Before installing an extension section and resolve any issues you find.
If you installed the extension with Composer, upgrades are managed with Composer as well. First, list installed packages to get the exact package name (vendor/module) and current version: composer show -i
Optional: See what’s newer with: composer outdated, or review available versions with:
composer show vendor-name/module-name --all
Then update the package: composer require vendor-name/module-name
If Composer needs to pull related libraries, add: --with-all-dependencies
Pro Tip: Use the
--dry-runflag with the composer update command to perform a test run without making any real changes and to make sure the update will complete successfully.
If you see "Nothing to install or update," request a target version explicitly: composer require vendor-name/module-name:^new-version (You can also use an exact version: composer require vendor-name/module-name:new-version-number)
If the extension was installed manually from a ZIP, back up (and remove) old files, copy new files, and overwrite the files in app/code with the new version.
Apply Magento changes. Use your server’s PHP entry point (on most environments this is php for PHP 8.x; if your host exposes a versioned binary, use something like php8.2 instead) and run:
php bin/magento setup:upgrade
php bin/magento setup:di:compile
php bin/magento setup:static-content:deploy -f
php bin/magento cache:clean
php bin/magento cache:flush
How to uninstall a Magento 2 extension
Before uninstalling, make a backup of the files and the database.
Uninstall a Composer-installed module
- Identify the module. Find its exact name:
php bin/magento module:status - Disable the module (required):
php bin/magento module:disable Vendor_Module (Optional) remove module data. If the module contains a legacy uninstall script (
Setup/Uninstall.php), you can run:php bin/magento module:uninstall Vendor_Module --remove-dataThis works only if the developer implemented the Uninstall class. If the extension uses the modern
db_schema.xmlapproach, its tables and other schema objects are removed automatically after you delete the module and runphp bin/magento setup:upgrade, because Magento detects that the code is missing and applies the corresponding schema changes.- Remove the package from the project:
composer remove vendor/package-name Refresh compiled code in Production mode:
php bin/magento setup:upgrade
php bin/magento setup:di:compile
php bin/magento setup:static-content:deploy -f
php bin/magento cache:flush
Additional notes:
- Magento temporarily enables maintenance mode while the module is being removed.
- If another extension depends on this one, Composer and Magento will not allow the removal until those dependencies are resolved.
- For modules that do not provide an
Uninstall.phpclass but use db_schema.xml, database tables are removed automatically after you delete the module and runphp bin/magento setup:upgrade, because Magento notices that the module is gone and updates the schema accordingly.
Uninstall a ZIP-installed module
If the module was installed manually (e.g., from a ZIP archive into app/code), you still need to disable it first with:
php bin/magento module:disable Vendor_Module
Then, delete its folder manually, for example:
rm -rf app/code/Vendor/Module
Finally, run:
php bin/magento setup:upgrade
php bin/magento setup:di:compile
php bin/magento setup:static-content:deploy -f
php bin/magento cache:flush
Magento will automatically drop database tables defined via db_schema.xml. For legacy modules using InstallSchema.php, data will persist unless an Uninstall.php script is present and executed with --remove-data.
Summary
Built-in functionality of Magento 2 can be extended with third-party extensions. They let you adjust both the storefront and the admin area so the store better matches your business needs.
Some providers, like Mirasvit.com, also offer Magento extension installation at no extra cost, while others only supply the code and expect your team or agency to handle setup. In both cases, well-chosen modules can still noticeably improve performance, usability, and revenue.
This tutorial shows how to install an extension in Magento 2, either via Composer (Marketplace and private repositories) or from a ZIP in app/code, and how to update or uninstall it when needed. Before changing installed modules, always create fresh backups of your files and database so you can roll back if something goes wrong.
FAQ
How to install extensions in Magento 2?
To install extensions in Magento 2, use Composer: run composer require vendor/module-name, then php bin/magento setup:upgrade; in Production, also run php bin/magento setup:di:compile and php bin/magento setup:static-content:deploy -f, then php bin/magento cache:flush. As an alternative, place the module under app/code/Vendor/Module and follow the same finishing steps.
How to install an extension manually?
To install an extension manually, copy the module to app/code/Vendor/Module (names must match registration.php), run php bin/magento module:enable Vendor_Module, then php bin/magento setup:upgrade; in Production, add php bin/magento setup:di:compile and php bin/magento setup:static-content:deploy -f, then php bin/magento cache:flush.
Can I install extensions myself?
You can install extensions yourself if you have SSH access and basic Magento CLI skills. Use a staging environment, enable maintenance mode, make backups, prefer Composer for Marketplace modules, and use ZIP only for custom or private code.
Why can’t I install extensions?
If extensions won’t install, common blockers include Composer dependency conflicts, incompatible PHP version, or missing PHP extensions, insufficient write permissions on var, pub/static, or generated, and a low memory_limit. Check var/log/system.log and var/log/exception.log, correct the environment issues, then retry the installation.
How to enable extensions?
To enable an extension, add its code (via Composer or ZIP), run php bin/magento module:enable Vendor_Module, then php bin/magento setup:upgrade; in Production, also run php bin/magento setup:di:compile and php bin/magento setup:static-content:deploy -f, then php bin/magento cache:flush.
Why is an extension not working?
If an extension isn’t working, typical causes are the module not being enabled, setup:upgrade not run, missing compile/static deploy in Production, duplicate copies in both vendor and app/code, or version incompatibilities. Verify with php bin/magento module:status, run the required CLI steps, and review the logs for specific errors.
Writer
Keep Learning