How to Add Facebook Pixel Code in Magento 2
-
 Eugen Barilyuk
- Mirasvit Blog
- Nov 14, 2022
- 6 min read
An easy and convenient shopping process - this is a proven way for high sales. The question is to how find possible bottlenecks on the customer's shopping funnel. It is an easy task when you can track what shoppers do in your store with a dedicated tracking system.
One of the most popular customer tracking system is Facebook Pixel. We've already covered the Tag Manager setup, and here is how to connect your Magento store to Facebook Pixel with our Facebook Pixel & Conversion API Extension.
What is Facebook Pixel
With an audience of 2.9 billion monthly active users Facebook is one of the largest online places for stores to promote their goods.
To better target its audience Facebook offers stores a tracking tool named Facebook Pixel (currently named Meta Pixel). It registers the user behavior on any site it is connected to, for example, what pages users visit, what buttons and links they click on, what forms they fill out, etc.
This monitoring tool gathers data on the following actions:
- page views. These are views for any pages, for example, a catalog or a product page;
- search queries;
- adding a product to the cart, favorites, wishlist, etc.;
- start of a new order;
- adding payment information when placing an order;
- finishing purchase by completing an order;
- submitting a form;
- completion of registration.
Facebook Pixel connects a visitor to his Facebook and Instagram account. Using the data gathered by the Facebook Pixel a store can configure its Facebook ad campaigns to promote its goods on this social network.
What advantages Facebook Pixel brings
Using Pixel in your store you can increase sales and attract new customers with the following functionality:
- run retargeting. Re-show ads to users who already visited your store, but have not placed an order;
- run ads depending on the behavior of your store visitors. For example, show ads for those who viewed several items in your store;
- attract new users who have similar interests as the existing audience of your store;
- evaluate the advertising effectiveness. See how user acts when after the advertisement was shown to him.
Technical side of Facebook Pixel
A Facebook Pixel is a piece of JavaScript code that should be placed in the <header> block on the frontend. It should be present on every page of the site in order to track users correctly.
Here is how Facebook Pixel code snippet looks like:
<!-- Meta Pixel Code -->
<script>
!function(f,b,e,v,n,t,s)
{if(f.fbq)return;n=f.fbq=function(){n.callMethod?
n.callMethod.apply(n,arguments):n.queue.push(arguments)};
if(!f._fbq)f._fbq=n;n.push=n;n.loaded=!0;n.version='2.0';
n.queue=[];t=b.createElement(e);t.async=!0;
t.src=v;s=b.getElementsByTagName(e)[0];
s.parentNode.insertBefore(t,s)}(window, document,'script',
'https://connect.facebook.net/en_US/fbevents.js');
fbq('init', '1092810728023416');
fbq('track', 'PageView');
</script>
<noscript><img height="1" width="1" style="display:none"
src="https://www.facebook.com/tr?id=1092810728023416&ev=PageView&noscript=1"
/></noscript>
<!-- End Meta Pixel Code -->
After the JS code was placed on a site frontend the Pixel should be configured in the Facebook account of the store. A list of events should be setup in order to analyze the data in the Facebook Events Manager.
All configured events should be added to the Pixel JS code snippet. For example, the Pixel code above contains two base events:
- initializing the tracker
fbq('init', '1092810728023416') - tracking page views
fbq('track', 'PageView')
For example, to track add to cart event you will need to add a fbq('track', 'AddToCart') into the Pixel JS code snippet.
The gathered data on users is accessible on Facebook Events Manager page.
Note: iPhone users can opt out of tracking via Facebook Pixel. Starting the iOS 14.5 a user has to explicitly grant the permission to track his actions. If your customers mainly visit your store from iPhone or iPad the Facebook Pixel may be not much of use to you. For example, in USA almost 96% of users opt out from Facebook tracking.
How to embed Facebook Pixel in Magento store
To send data on user activity from your store to Facebook you will need a Facebook account. You can create only one Pixel per account. Additionally you will need to verify the domain ownership.
Step 1. Verify your Magento domain ownership for Facebook
Navigate to business.facebook.com > Company Settings > Brand Safety > Domains.
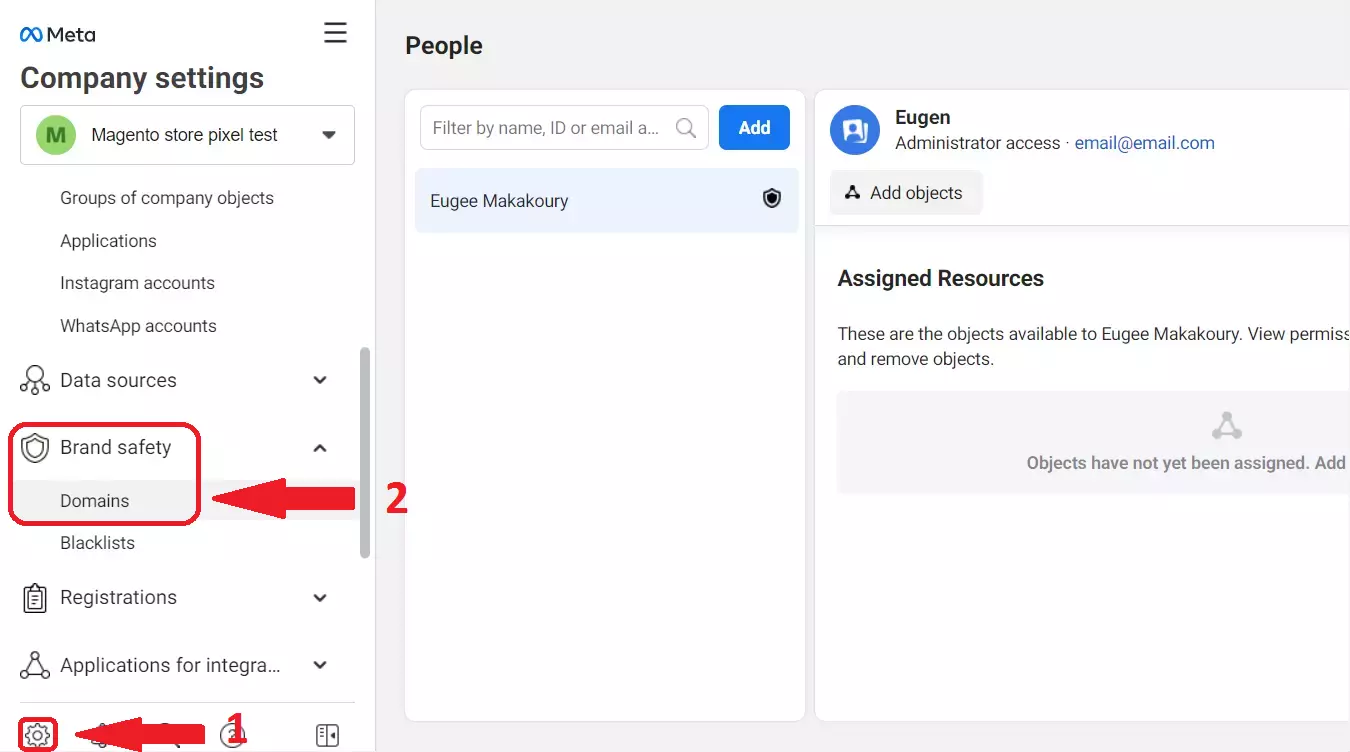
Click Add > Create a domain. Choose how you want to verify the domain ownership - meta tag.
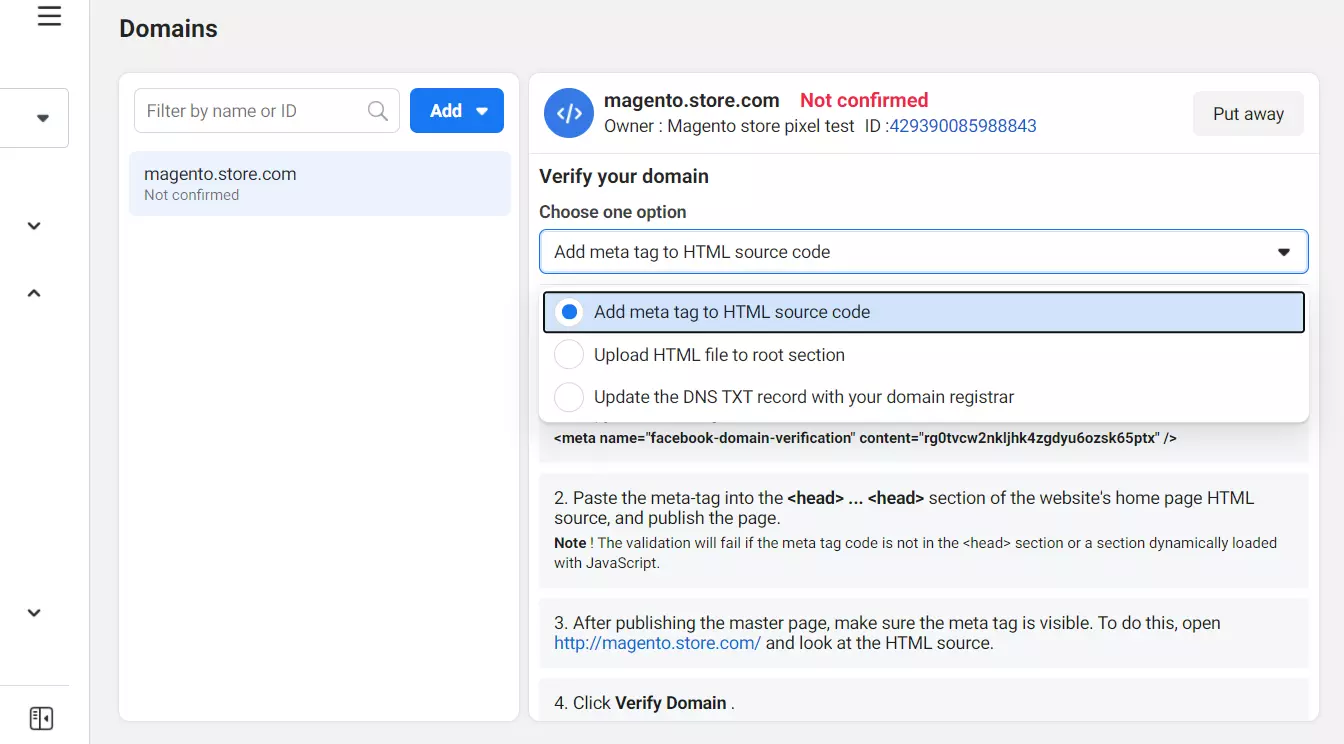
Copy the meta tag and paste in the Pixel Domain Verification field of the Facebook Pixel extension. Locate this field by navigating to Stores > Configuration > Mirasvit extension > Facebook Marketing > Facebook Pixel
![]()
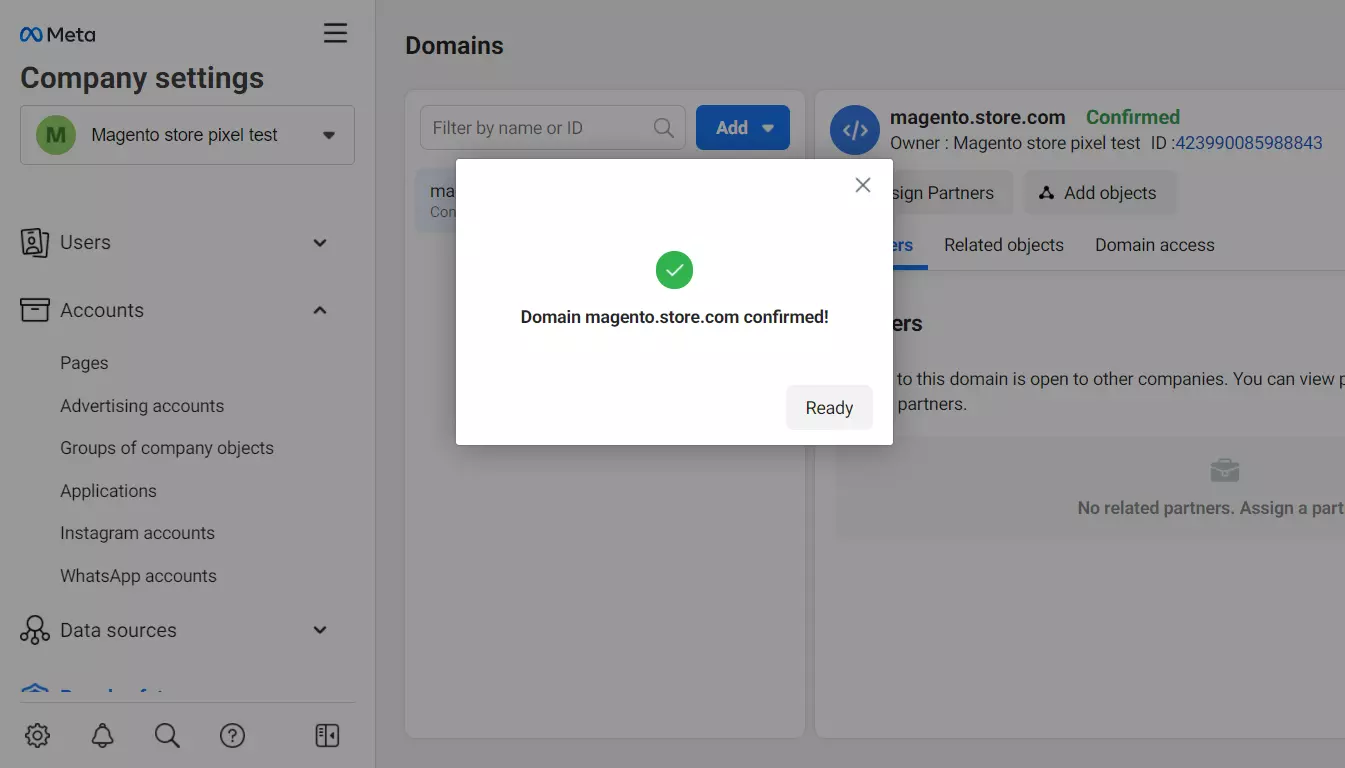
Ensure the meta tag is present in the HTML of the frontend pages of your Magento store. Return to Facebook Business Manager and click the verification button.
Step 2. Create a Facebook Pixel
To send data on user activity from your store to Facebook you will need a Facebook account. You can create only one Pixel per account.
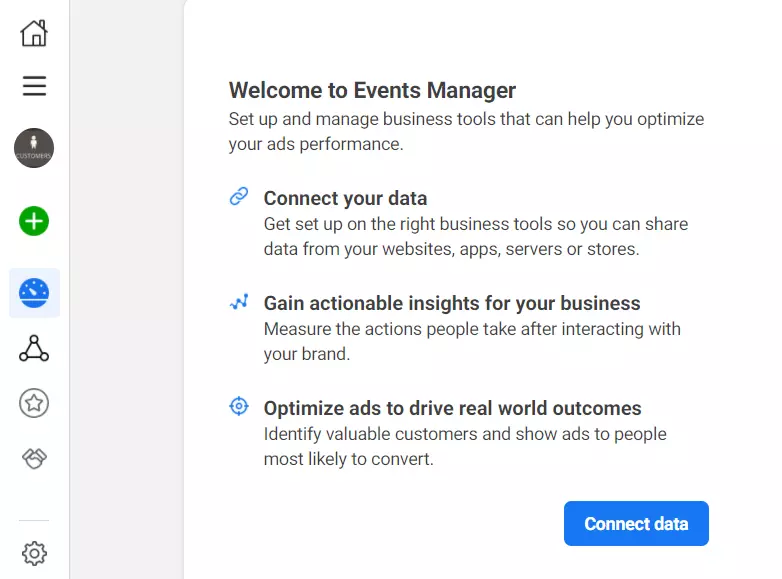
When logged in into your account navigate to Events Manager and select Connect your data
Select Meta Pixel if you want to simply gather the user activity data. You will be able to configure Conversions API later if necessary. Select a Conversions API and Meta Pixel if you want to additionally send data from your server.
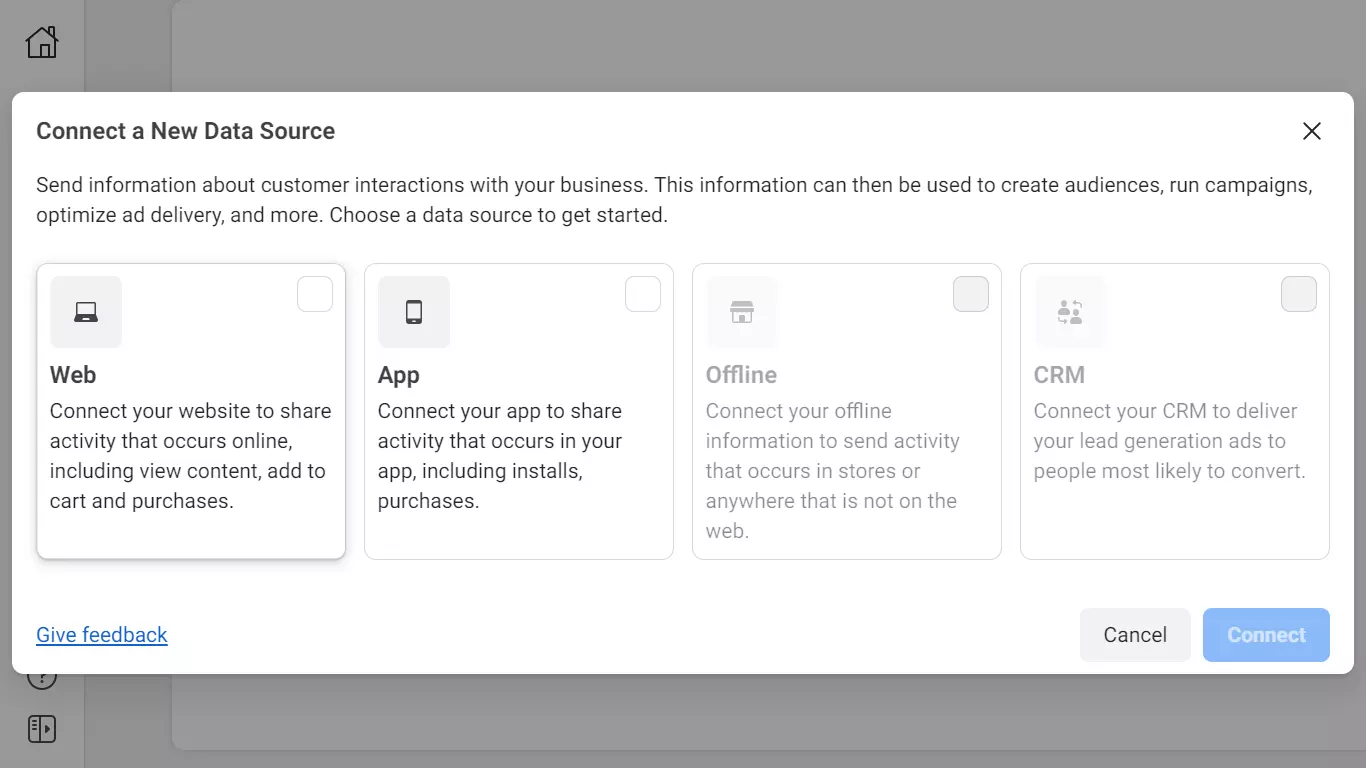
Select a Web data source to track users on a web site.
Provide a name to your Facebook Pixel tracker.
![]()
Give an URL of your store.
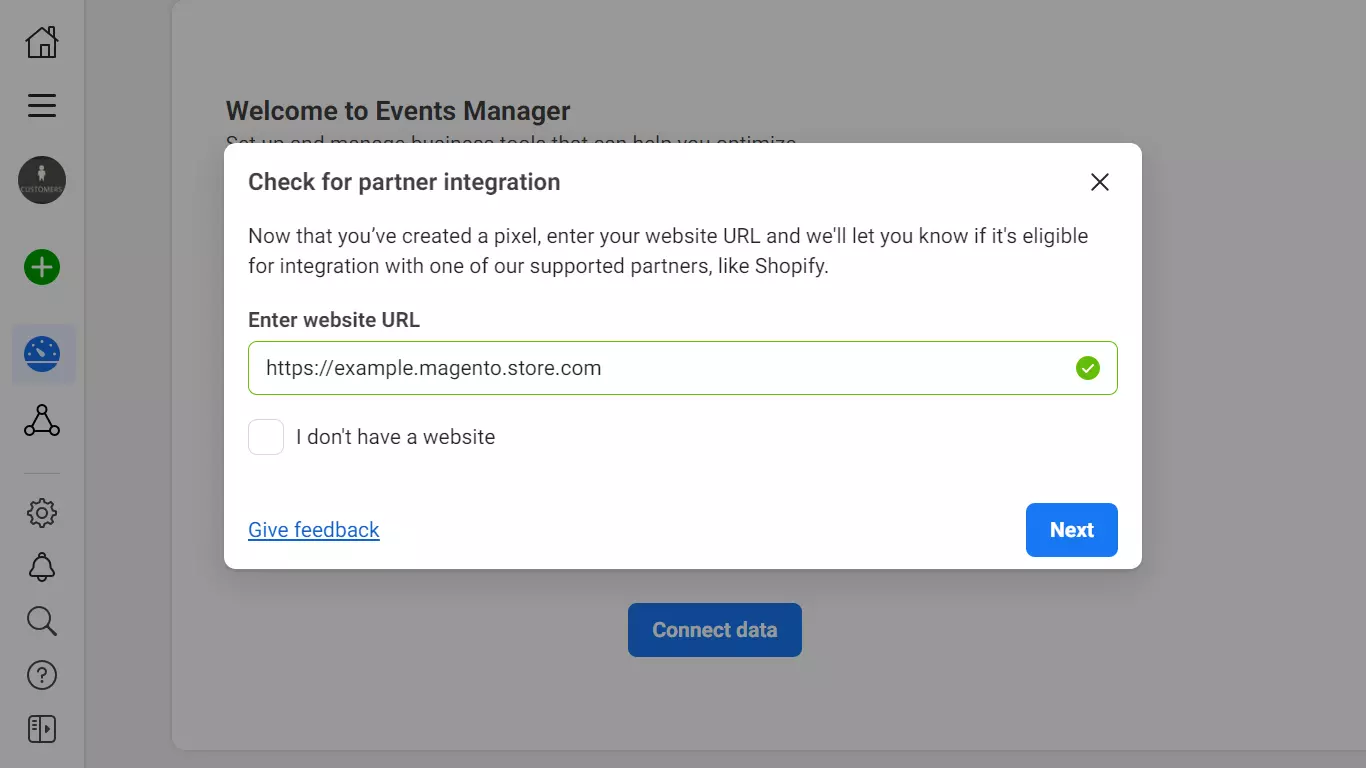
Connect your store to the Pixel. Manual installation means you have to place the Pixel code on your store frontend however you want. Using partner integration means installing a Facebook Business Apps module in your Magento.
![]()
Get the Pixel code snippet by selecting manual installation. Paste the code into the Facebook Pixel code field located in Stores > Configuration > Mirasvit extension > Facebook Marketing > Facebook Pixel block.
![]()
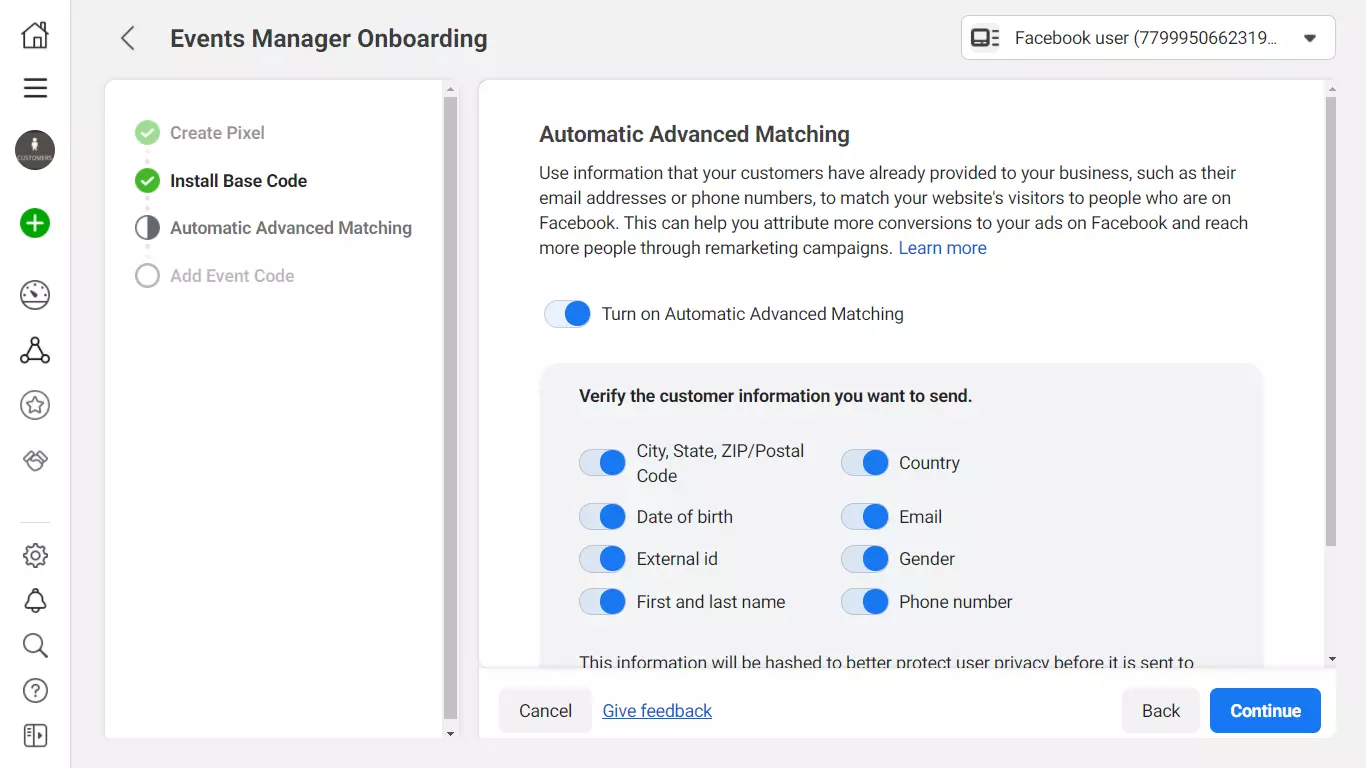
Return to Facebook and turn on automatic matching so the Facebook could connect visitors of your store to their Facebook and Instagram accounts. However, this means your store will be sending user's personal data to Facebook, like his name, phone, country, email.
Step 3. Set up tracked events
After the Pixel was configured and installed on the site, open the Event Setup Tool to activate tracked events.
Enter your store URL, and you will be automatically transferred to your store. In the Event Setup tool window click Review to see the list of suggested events. Confirm the required events.
Add missing events you require to track by clicking Track button, and follow the onscreen instructions. Read on available standard events for Facebook Pixel to set up them in your Pixel.
Set value and currency for the event
Navigate to the Value field, and click Choose value to add a price value that corresponds to the event.
Locate the Currency filed, and select the currency of your store from the dropdown menu.
Set content ID and content type
Add content ID with Choose content ID button. If the URL has this ID you can extract it from there. Follow the instructions provided on how to set the content ID and content type.
Note: Some businesses are not allowed to uses Event setup tool. They have to set up events manually instead. These businesses in investment banking, insurance, financial services, retail, credit union and commercial banking, credit, financing, mortgages, pharmaceutical and health.
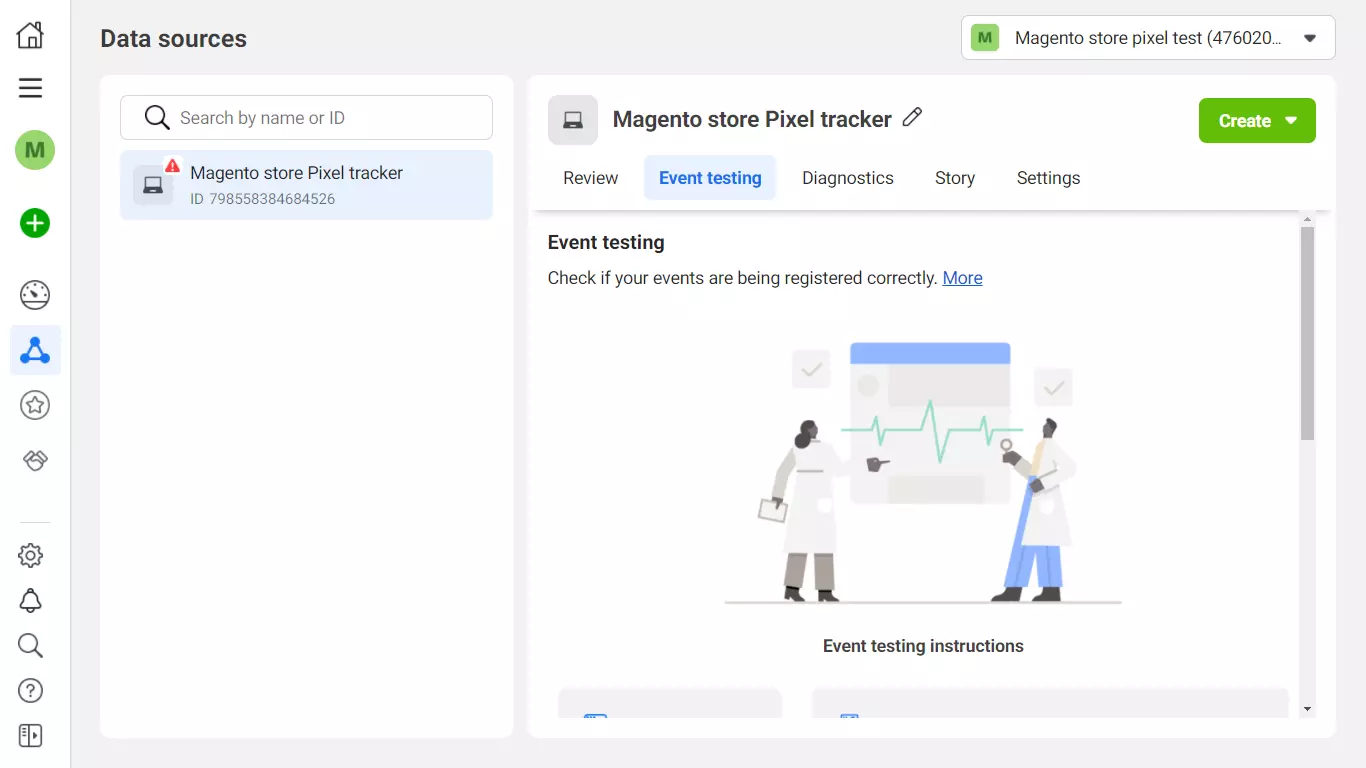
Test events
Open the Events Manager > Data sources page and select the Pixel. Click Test events, provide your store URL and open it. Do actions for configured events, and wait for them to appear in Facebook.
Summary
Facebook Pixel is a must-have tool if you want to display ads for users of Facebook and Instagram platforms.
The advantages of these ads is that you can precisely target your audience. For example, you can show propositions for your store visitors that showed interest in some of your products. Or you can show ads for people who have similar interests to you regular customers.
Setting up the Facebook Pixel in your store is the first step in launching effective targeting campaigns on Facebook and Instagram for engaging your existing clients, and potential new customers.
Writer
The Facebook Pixel Magento 2 extension improves your ads on Facebook and Instagram social networks. It helps to maximize the efficiency of your ad campaigns launched via the Facebook Ads service. With the data collected by this module, you may create a perfect target audience to get increased conversion rates.