Advanced SEO Suite Onboarding Checklist (Part 7): Check Product Images Settings
-
 Yulia Goncharova
- SEO
- Jan 18, 2017
- 1 min read
Part 7. Check Product Images settings.
7.1. Go to System -> Configuration -> Mirasvit Extensions -> SEO. Look for the block of settings ‘Product Images settings’.
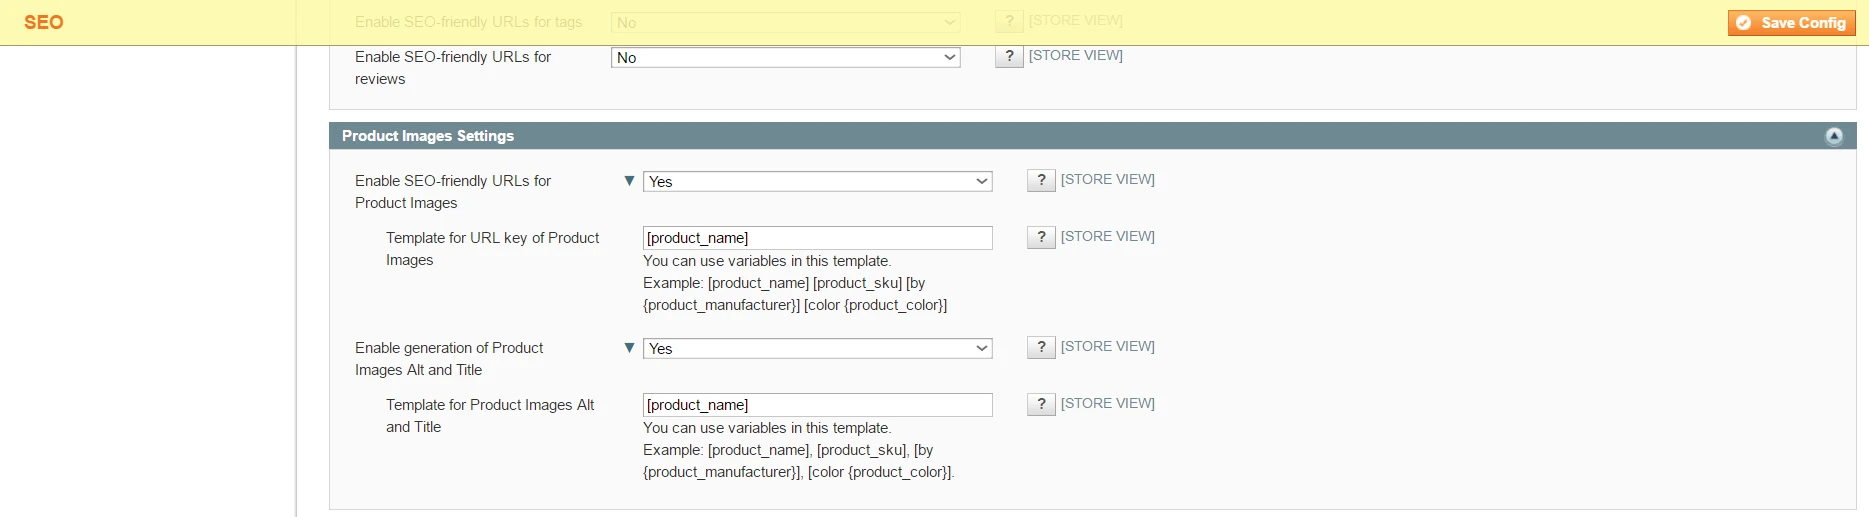
Image 1. Product Images settings.
7.2. Check the first field in the block ‘Enable SEO friendly URLs for product images’. If it’s enabled, you may configure the ‘Template for URL key of product images’. As usually you may use variables creating your templates, for example, [product_name] [product_brand] [by {product_manufacturer}] [product_sku] [color {product_color}] etc. (Template should be identical to the one you use for friendly Images URLs in Google sitemap).
Remember, enabling this feature may cause extra HDD space consuming!
7.3. Check the second field in the block ‘Enable generation of product images Alt and Title’. If it’s enabled, you may configure the ‘Template for product images Alt and Title’. As usually you may use variables creating your templates, for example, [product_name] [product_brand] [by {product_manufacturer}] [product_sku] [color {product_color}] etc. Great tips from Google for creating Alt and Title tags for product images may be found here.
Checked!
Your store has got proper product images settings and this most probably will help to drive more traffic from search engines!
Next part will be about Info section settings.
Also you may read previous parts of our onboarding checklist using the following links:
Part 1. What to check right after installation?
Part 2. How To Tweak Your Frontend Sitemap?
Part 3. How To Tweak SEO Suite Extension settings?
Part 4. Check Extended settings.
Part 5. Check if your rich snippets are ready.
Part 6. Check SEO-friendly URL Settings.
OR
wait a bit for the next one:
Part 8. Check Info section settings.
Part 9. Check / Create SEO templates.
Part 10. Check Rewrites section settings.
Part 11. Check Redirects management section.